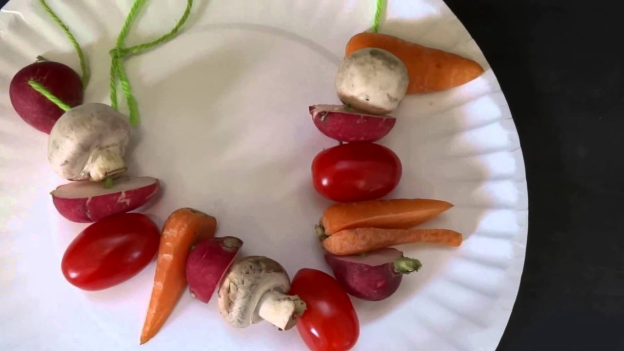
Looking for a fun and easy craft idea that kids will love? How about making a vegetable necklace! It's a creative way to get little ones involved in something hands-on while also teaching them about nature and healthy foods. If you're wondering how do you make vegetable necklace, don't worry—it's simple, and the kids can help with every step. In this guide, we'll go over the materials you need and show you exactly how to make this colorful, edible necklace that's sure to keep the kids entertained.
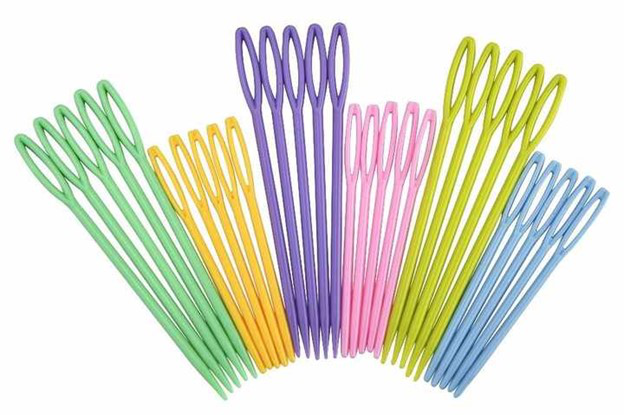
Materials Needed for a Vegetable Necklace
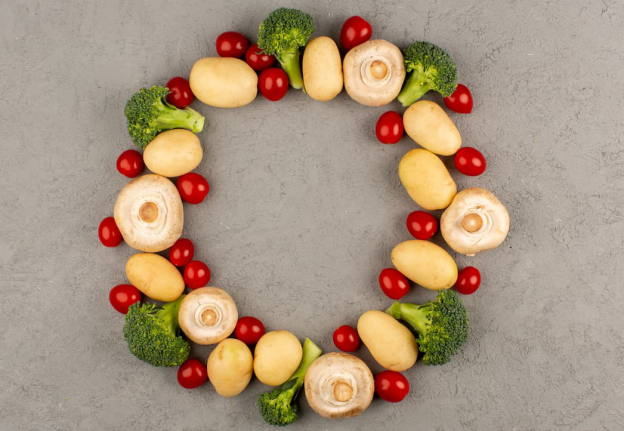
How do you make a vegetable necklace? Let's begin by gathering all the fun materials you'll need:
How to Make a Vegetable Necklace?
With all your materials prepared, you're ready to start crafting your vegetable necklace! Follow these easy steps to create a colorful and unique accessory:
Step 1: Prepare Your Vegetables
Start by washing your vegetables to make sure they're clean and ready to work with. If you're using larger veggies, like cucumbers or bell peppers, you may want to slice them into smaller pieces so they're easier to string. Try to make your pieces small enough to fit comfortably on the string, but not so small that they break apart easily.
Remember that only adults should handle the knife for cutting the vegetables to ensure safety.
Step 2: Make Holes for the String
Next, you'll need to make a hole through each vegetable so you can thread it onto your string. If you're using a needle, carefully poke it through each piece of vegetable. If your needle is too thick or the veggies are too tough, you can use a toothpick or skewer to make a hole first, then thread the needle through the hole.
Step 3: Start Stringing Your Vegetables
Now comes the fun part! Take your needle and start threading the vegetables onto the string or yarn, one by one. You can mix and match colors and shapes to create a pattern or just go with a random arrangement—whatever feels right. You can alternate between veggies and herbs for a fun pop of greenery, too!
If you're crafting with kids, this is the perfect moment to let them get creative! Encourage them to try different combinations or come up with their own veggie necklace designs.
Step 4: Tie and Adjust
Once you've added enough veggies to make your necklace the right length, tie a knot at the end of the string to secure everything in place. If you're using a ribbon, you can tie it into a bow for extra flair! Make sure the knot is tight enough so that your vegetables won't slide off, but not too tight that it ruins the look.
If the necklace feels a little too long or short, simply adjust the length by trimming the string or adding more vegetables. You can also adjust the spacing between the veggies for the perfect fit.
Creative Tips for Making a Vegetable Necklace
To help you create the best vegetable necklace possible, here are a few extra tips and tricks to make the process even easier (and more fun)!
Conclusion
Making a vegetable necklace is a great way to get kids involved in crafting while encouraging them to explore new textures, colors, and shapes! Not only is it a fun activity, but it's also a fantastic way to bond with your children and teach them about the world around them. Now that you know how to make a vegetable necklace, gather the supplies and let the kids' creativity run wild. It's time to turn veggies into wearable art and make memories along the way!