Elastic bracelets are fashionable accessories but wear and tear can cause them to lose their stretch or even snap. So how to fix an elastic bracelet if such things happen? If the same questions are bothering you, this blog is the solution. In this blog, we’ll teach you how to fix an elastic bracelet with step-by-step instructions. From common issues with elastic bracelets to some advanced techniques, we’ve got you covered. Follow us and revive your favorite elastic bracelet and have it look pristine again!
Understanding Elastic Bracelets
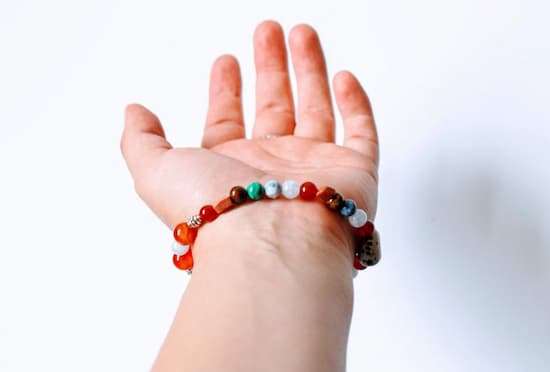
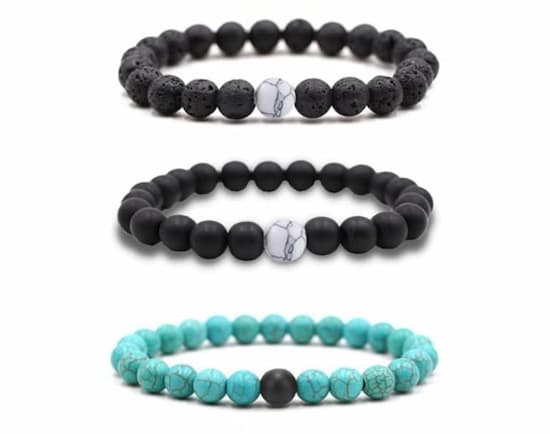
Elastic bracelets are accessories typically made from beads, gemstones, or other decorative elements strung together on an elastic cord. Unlike traditional bracelets with clasps or closures, elastic bracelets are stretchy and can be easily slipped on and off the wrist without the need for fasteners. This feature makes them convenient to wear and adjust, as they can accommodate various wrist sizes.
Elastic bracelets come in a wide range of styles, colors, and designs, catering to different tastes and preferences. They are popular for their versatility, as they can be worn individually or stacked with other bracelets to create unique and personalized looks. Additionally, elastic bracelets are often used in jewelry making for their simplicity and ease of assembly, making them a favorite choice for DIY enthusiasts.
Common Issues with Elastic Bracelets
While elastic bracelets offer convenience and style, they are not immune to wear and tear. Before proceeding to tackle how to fix elastic bead bracelet, let’s identify some common issues.
Elastic Fatigue
Over time, the elasticity of the cord in elastic bracelets may weaken due to repeated stretching and exposure to elements like moisture and heat. This can lead to a loose fit or even breakage of the bracelet.
Knot Slippage
The knot used to secure the elastic cord may loosen with wear, causing the bracelet to unravel. This is especially common if the knot is not tied securely during the initial assembly of the bracelet.
Wear and Tear
Everyday activities such as typing, exercising, or manual labor can put strain on elastic bracelets, leading to fraying of the cord or damage to the beads. Additionally, exposure to harsh chemicals or rough surfaces can accelerate the deterioration of the bracelet.
Broken Cord
In the worst case, the elastic cord may be broken due to repeated strain and snap, and a cord replacement would be the sole solution.
Methods for Fixing Broken Elastic Bracelets
A broken elastic bracelet doesn't have to spell the end of its story. With the right techniques and a touch of patience, you can breathe new life into your beloved accessory. Here we explore several methods of how to fix a broken elastic bracelet.
Restringing with New Elastic Cord
For loose and broken cords, a simple restringing will restore your bracelet’s former glory. Follow these steps to fix your broken elastic bracelet.
Re-Knotting
For loose elastic bracelets with knots that can be undone, re-knotting without replacing the cord presents a convenient and efficient solution. This method is particularly suitable for situations where the elastic cord remains intact but has simply loosened over time.
Steps for Re-knotting:
Undo the Existing Knot: Carefully untie the existing knot using gentle, steady pressure. Take care not to pull too forcefully, as this may cause the elastic cord to stretch or fray further.
Adjust the Length: After undoing the knot, push the beads further inward until you reach the desired length for your bracelet.
Re-knot the Cord: Once you're satisfied with the length, re-knot it securely using a secure knot, such as a surgeon’s knot. Ensure that the knot is tight and snug against the beads, as this will prevent it from slipping or coming undone.
Trim Excess Cord: After re-knotting, trim any excess cord with scissors, leaving a short tail of approximately 1/4 inch. Be careful not to cut the cord too close to the knot, as this may cause it to unravel.
Seal with Glue: For added security, you may choose to apply a small amount of jewelry glue to the knot. This helps to prevent the knot from loosening over time and provides extra reinforcement against wear and tear.
Advanced Techniques for Bracelet Repair
While you can fix the majority of broken bead bracelets by restringing and reknotting, that does not mean you have to stop there. In fact, there are many more advanced techniques regarding how to fix a bracelet string elastic. We’ll briefly mention some of them below.
Reinforcement with Wire or Thread
For bracelets with multiple strands or intricate designs, reinforcement with wire or thread may be necessary to strengthen weak points or prevent further damage. This technique involves weaving fine wire or thread through the beads and elastic cord to provide additional support and stability.
Adding Spacer Beads or Accent Pieces
To enhance the durability and visual appeal of the bracelet, advanced repair techniques may involve incorporating spacer beads or accent pieces between the main beads. Spacer beads, typically smaller and simpler in design, help to evenly distribute the tension along the elastic cord and reduce strain on individual beads.
Custom Clasp or Closure
In cases where the original clasp or closure of the bracelet is damaged beyond repair, advanced repair techniques may involve crafting a custom clasp or closure from alternative materials such as metal findings or magnetic clasps.
Conclusion
Here you are - a concise guide on how to fix an elastic bracelet. From simple re-knotting techniques to advanced repair methods, you now have the knowledge and tools to tackle common issues and restore your favorite bracelets to their former glory. So, the next time you encounter a broken elastic bracelet, don't fret over how to fix a stretch bracelet again!