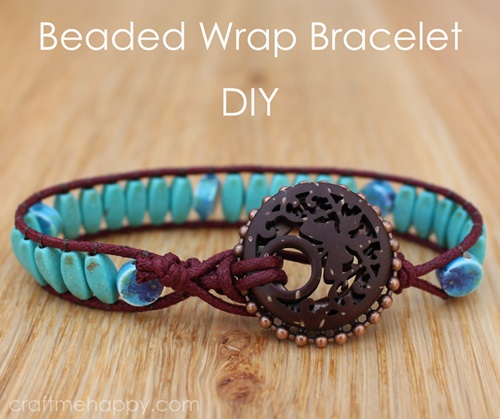
If you're eager to add a creative flair to your jewelry collection, learning how to make a beaded wrap bracelet is a rewarding way to start. This versatile accessory is designed to complement your style while offering endless customization options. In this guide, we'll explore the essential materials needed, step-by-step instructions on how to make a beaded wrap bracelet that wraps gracefully around your wrist, and clever ideas for adding personalized touches. With a range of beads, colors, and patterns available, you can craft a distinctive piece that reflects your personality. Let's get started and discover how to bring your unique beaded creation to life!
Materials for Making a Beaded Wrap Bracelet
Before you begin your beaded wrap bracelet tutorial, you will need to collect the required materials. Here's a list of items you will require:
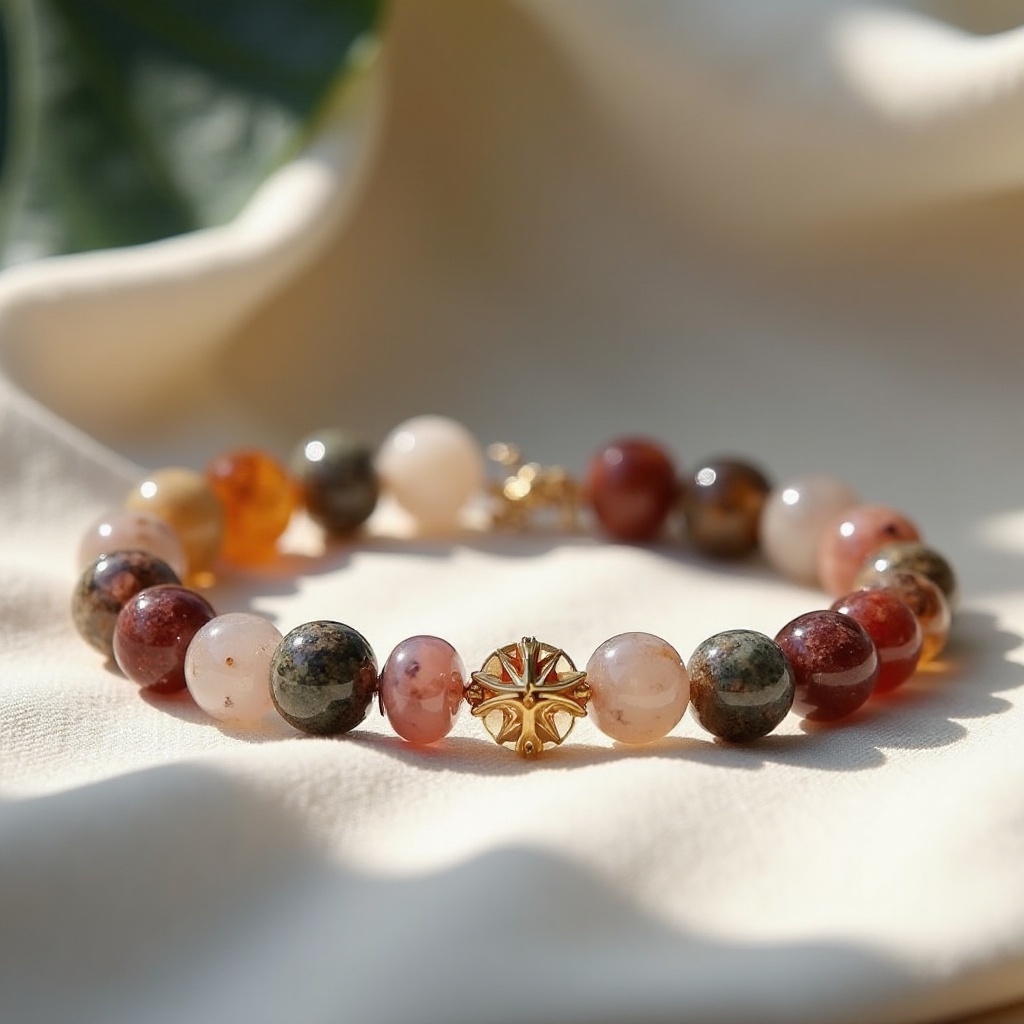
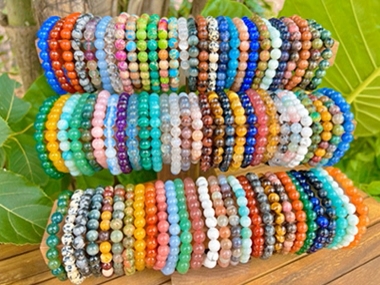
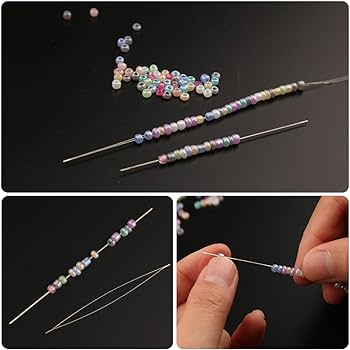
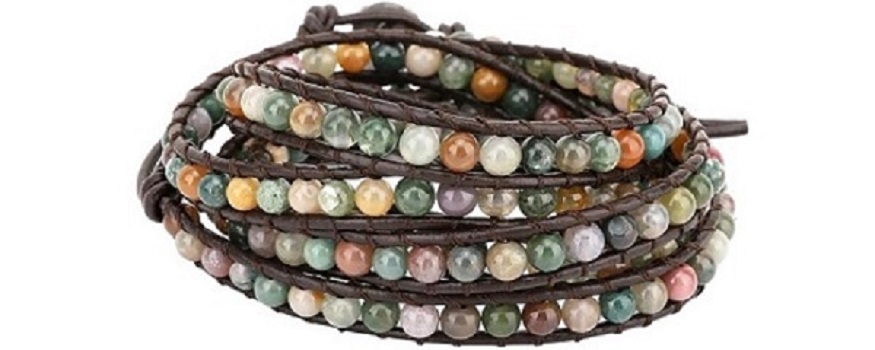
Beads: Select beads that goes with your style and aesthetic. You can select gemstone beads, glass beads, or even wooden beads for a more natural look. Consider bead size (4mm to 6mm beads are commonly used) and hole size to ensure they fit on the cord.
String or Cord: Choose a flexible and durable cord or string that will hold your beads tightly. Elastic or nylon cord are common options for beaded wrap bracelets.
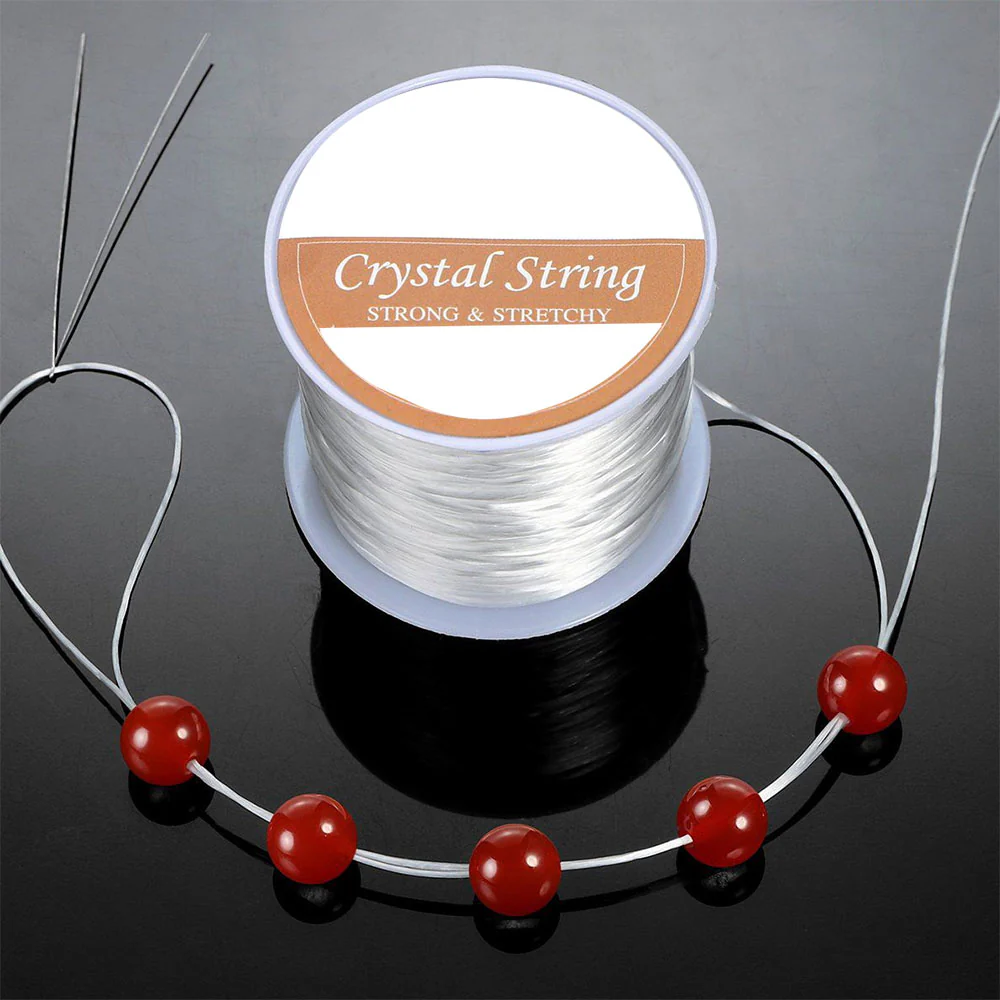
Needle: A beading tool or needle will make it simpler to thread the beads onto the cord or string.
Scissors: You will require sharp scissors to cut the cord or string to the desired length.
Clasp: Relying on your choice, you can select a clasp that matches the overall design of your beaded wrap bracelet.
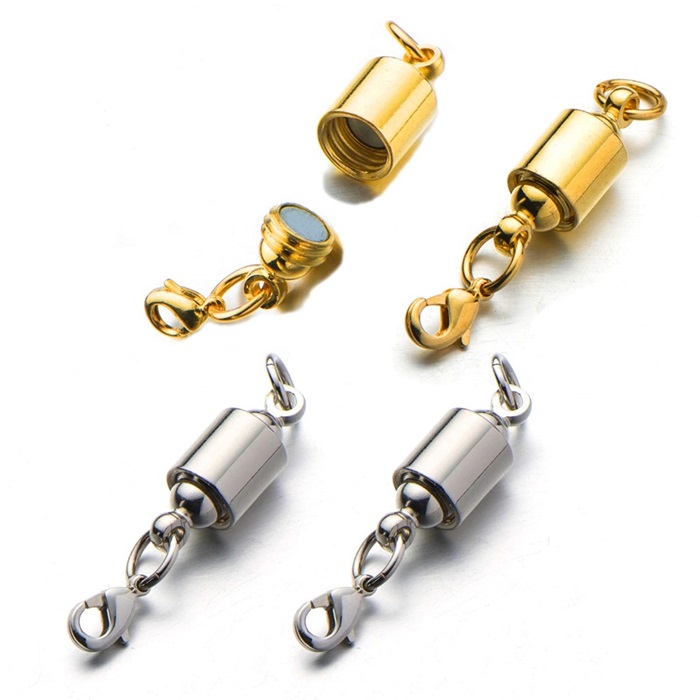
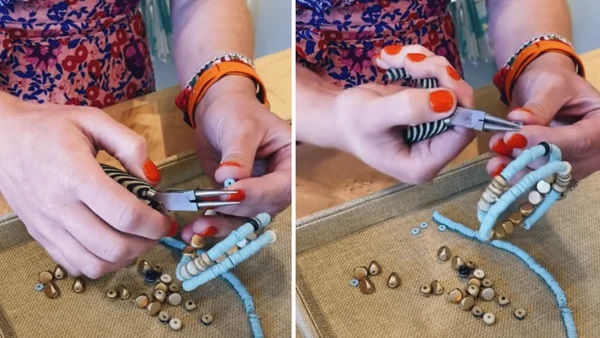
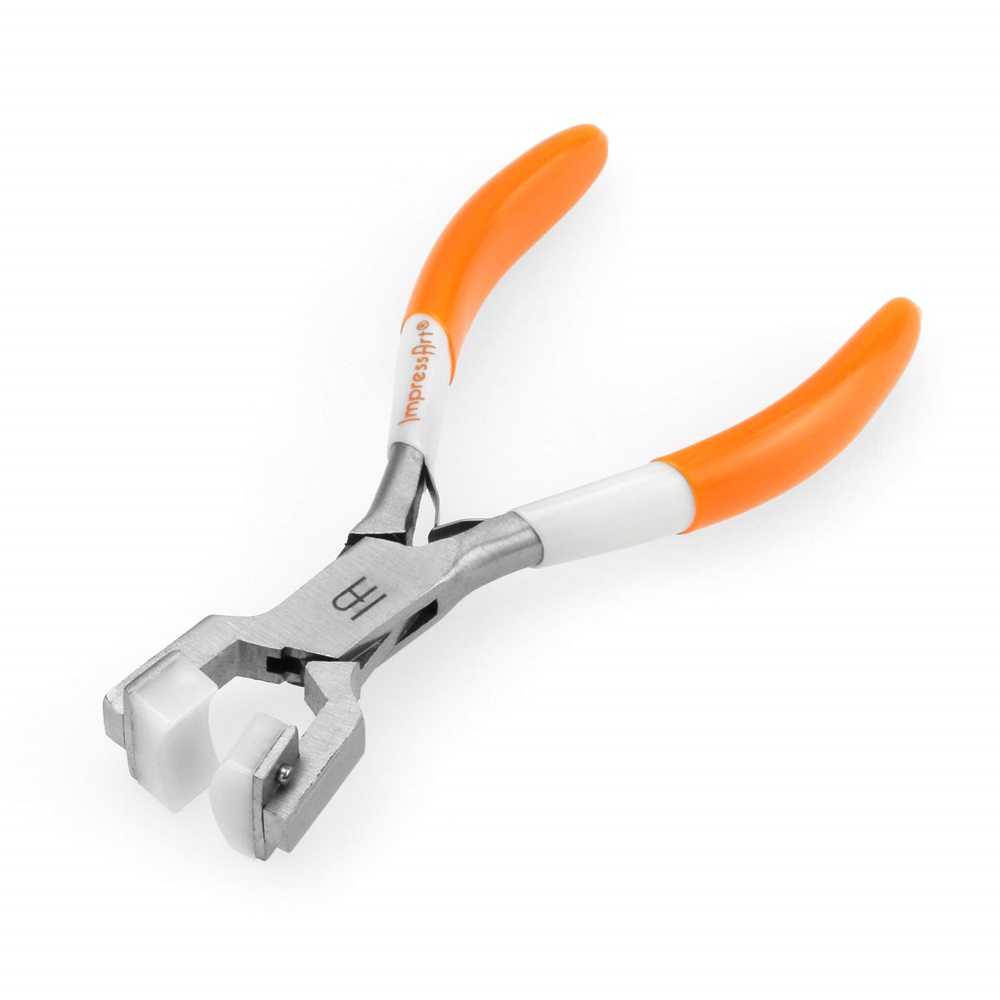
Pliers: Pliers are handy when it comes to attaching the clasp to the bracelet and making any required adjustments.
How to Make a Beaded Wrap Bracelet?
Now that you have all the required material, let us see how to make wrap bead bracelets.
Step 1: Begin by measuring the cord to the required length for your bracelet. Remember that wrap bracelets are crafted to be wrapped around your wrist multiple times. Therefore, consider a few extra inches while measuring. Use the scissors to cut the cord as per requirement.
Step 2: While using a beading needle, thread the cord through the eye of the needle. This will make it simpler to thread the beads onto the cord.
Step 3: Begin adding beads by threading the needle through a bead and then around one of the cords, looping it back through the bead to secure it. This technique is known as a ladder stitch. Continue this process, adding one bead at a time and securing them snugly against each other and the leather cords.
Step 4: Keep wrapping beads around the leather cords, pushing the beads snugly against each other to avoid gaps. You can wrap the beads for as many wraps as you desire. Common lengths are enough to wrap around your wrist twice or thrice.
Step 5: Once you've reached the desired length, tie off the beading thread with several secure knots against the cords. Trim any excess thread. Thread another bead or a button at the end of the leather cords as a clasp. Ensure that it fits through the loop you created at the beginning securely.
Step 6: Final Adjustments. Trim any excess cord, leaving enough to allow the bracelet to be easily fastened and unfastened. Optionally, you can add a drop of glue to the knots for extra security.
With the above beaded wrap bracelet instructions, you can create a stylish and custom beaded wrap bracelet that's perfect for wearing or gifting.
Adding Personal Touches and Variations
Now that you know how to make wrap bracelets with beads, it is time to add a personal touch to your bracelet. You can make your bracelet unique and personalized by following the below tips.
To explore more elaborate designs, consider the Emibele Layered Leather Bracelet. This piece beautifully integrates elements like rivet leopard print and multilayered leather, adorned with handcrafted agate, amethyst, chakra crystal, and glass beaded shells, offering a sophisticated yet bohemian style perfect for enhancing any outfit.
Conclusion
Knowing how to make a beaded wrap bracelet is a creative and rewarding process. By following the above detailed guide and adding your own personal touch, you can craft a one-of-a-kind accessory that shows your personal style. Hence, collect your materials, show your creativity, and wear your own bracelet.