If you're looking to add a personal touch to your collection of accessories or seeking a meaningful handmade gift idea, learning how to make a jewelry box can be a rewarding project. This guide will take you through every step of the process, from selecting the right tools and materials to putting the final custom touches on your creation. Not only will you end up with a functional piece to organize your jewelry, but you'll also gain the satisfaction of having crafted something truly unique.
How to Make a Jewelry Box
From selecting the right tools and materials to assembling and lining the interior, follow our step-by-step instructions on how to make a wooden jewelry box from scratch:
Tools and Materials Needed
Before starting the process of how to make a jewelry box, it's important to gather all the necessary tools and materials to ensure a smooth and efficient process. Here's a list of what you'll need:
Tools:
Materials:
Step-by-Step Construction Guide
Now, how do you make a homemade jewelry box? Follow these steps:
1.Measure and Mark the Wood: Begin by deciding on the dimensions of your jewelry box. Use a measuring tape to determine the length, width, and height, and mark the cutting lines clearly using a pencil. Remember to account for the thickness of the wood when calculating the dimensions, ensuring all parts fit together perfectly.
2.Cut Wood According to Measurements: Once the wood is accurately measured and marked, carefully cut the pieces for the base, sides, and lid of the box using a saw. Always wear safety goggles to protect your eyes from wood chips and dust.
3.Sand the Wood Pieces: Before assembling the pieces, sand each piece thoroughly to remove any rough edges and to prepare the surface for finishing. Start with a coarse grit sandpaper and gradually move to a finer grit to achieve a smooth finish. Pay extra attention to corners and edges for consistency.
4.Assemble the Frame: Apply wood glue along the edges of the base where the sides will attach. Place the side pieces on these glued edges, making sure they are perfectly upright and aligned. Use clamps to hold the pieces together while the glue dries. Ensure the frame is square by measuring diagonally from corner to corner—both measurements should be equal.
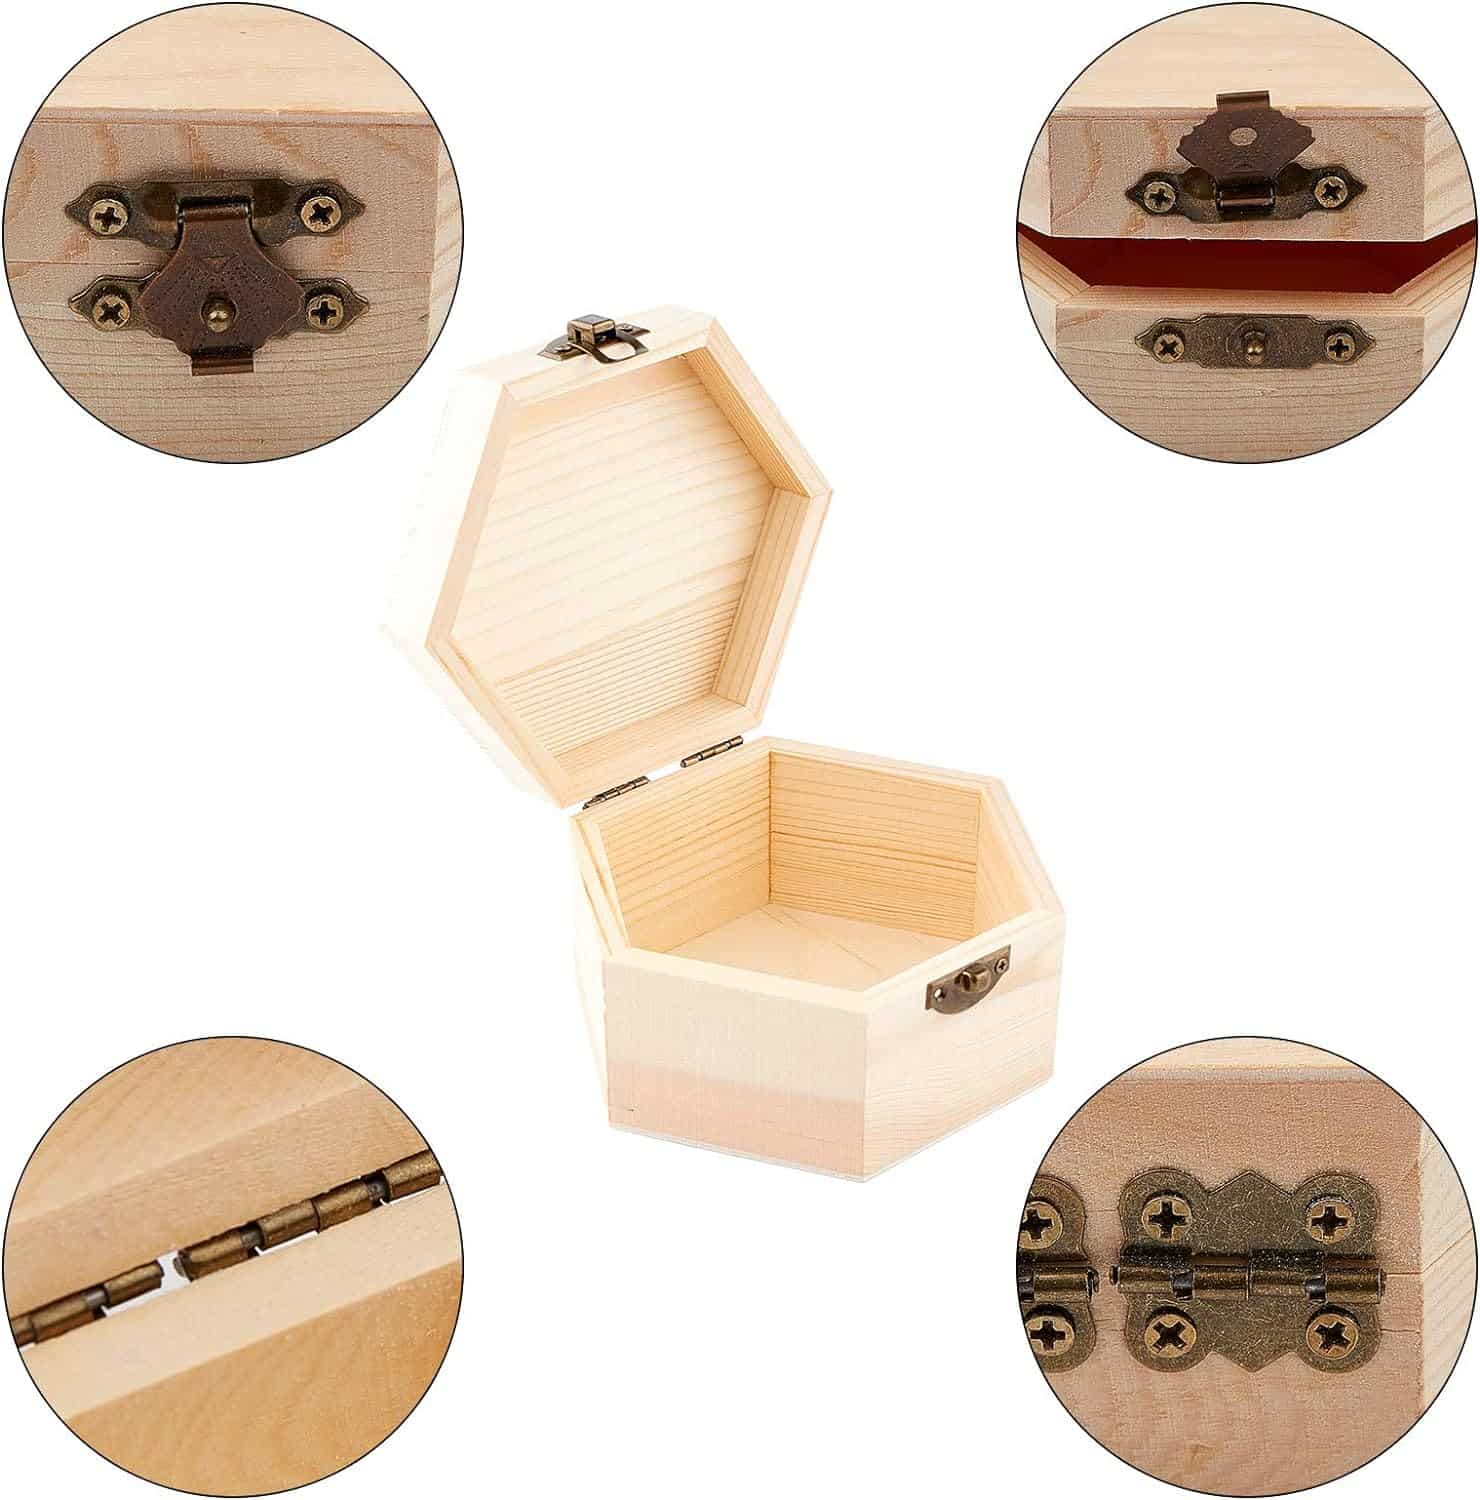
5.Install the Lid: Once the glue has dried and the clamps are removed, attach the hinges to the lid first, then align the lid with the box's frame. Mark the positions of the screws on the box, and pre-drill holes to avoid splitting the wood. Screw the hinges in place, ensuring that the lid opens and closes smoothly without any obstruction.
6.Install Latch for Closure: Installing a latch for closure adds both functionality and security. Choose a latch style that complements the design of your jewelry box. Mark the placement, drill pilot holes, and secure the latch with screws.
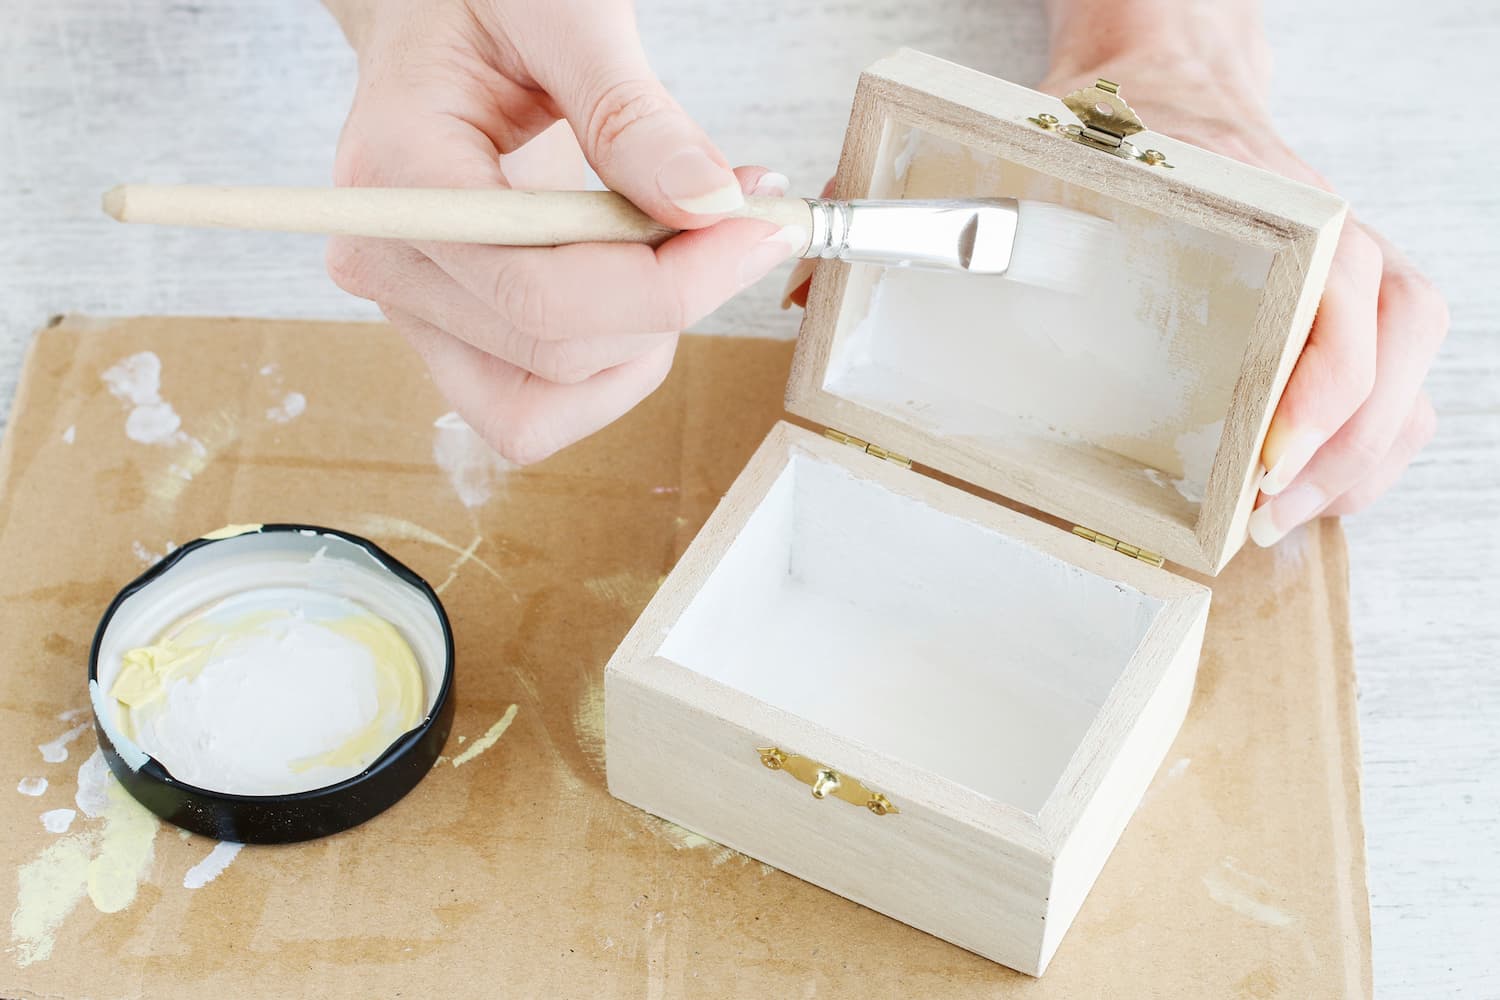
7.Apply Finish: Once the box is fully assembled and the glue has dried, apply a wood finish or paint to protect the wood and enhance its appearance. Apply evenly with a brush or a cloth, following the manufacturer's instructions for drying times between coats.
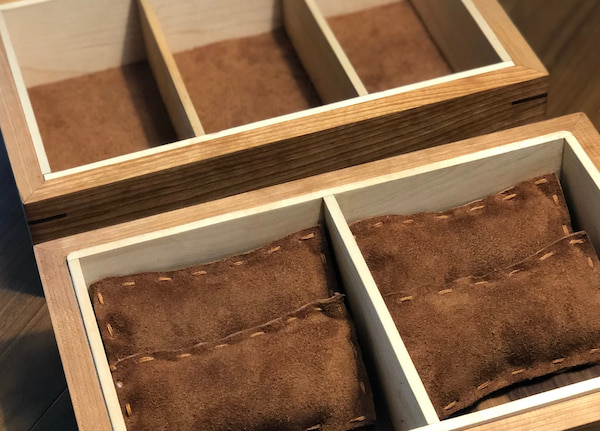
8.Line the Interior: Measure and cut a lining material such as felt, velvet, or leather to fit the interior surfaces of the box, including the bottom, sides, and underside of the lid. Use a suitable adhesive to secure the lining in place, carefully smoothing out any wrinkles or bubbles for a professional finish.
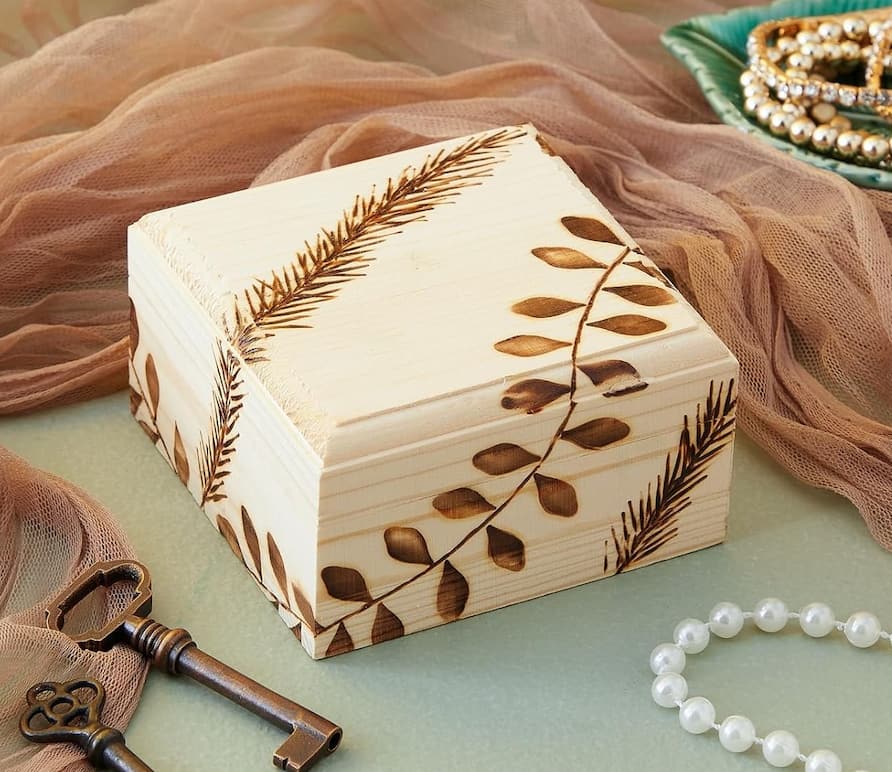
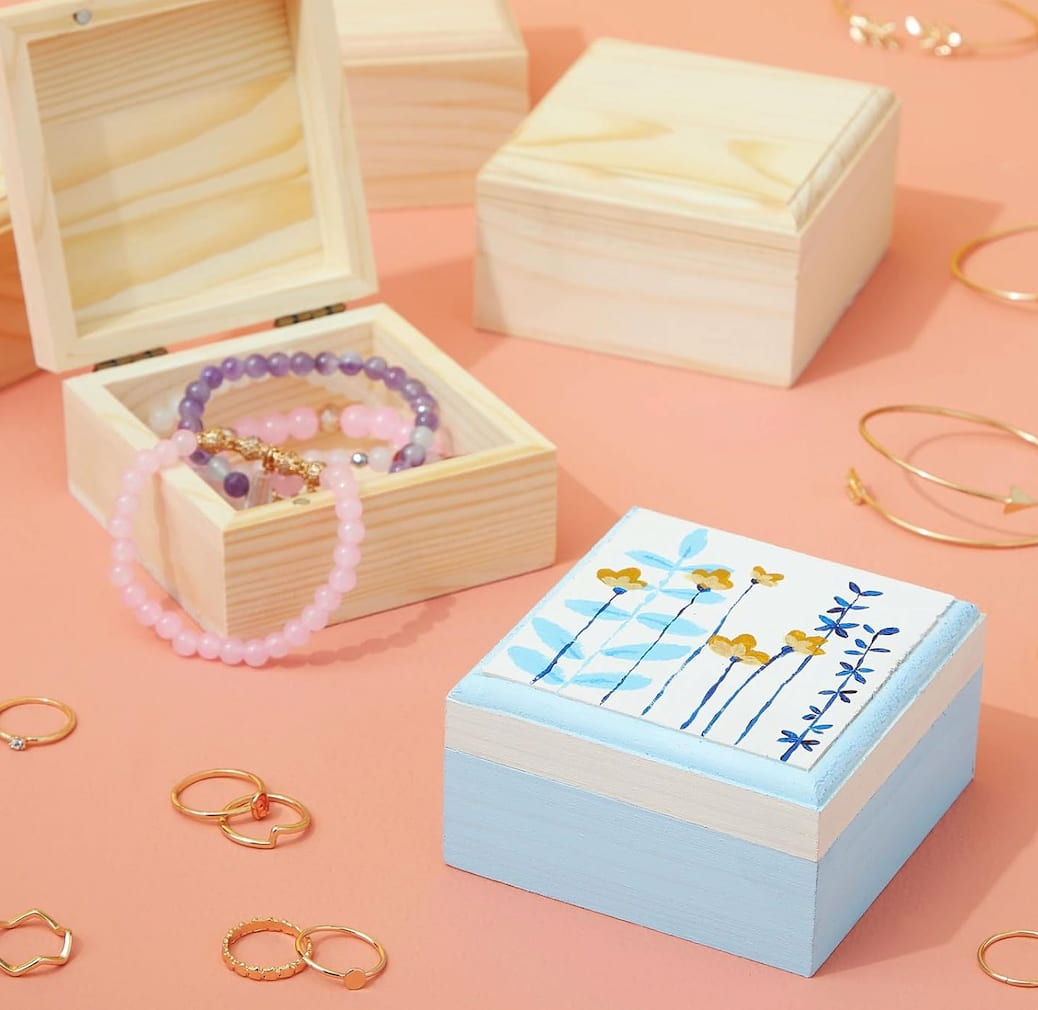
Customization Ideas for Personalizing the Jewelry Box
Now that the basic design of the box is complete, you might be wondering "How do I make a jewelry box unique?" Here are some customization ideas to consider:
Common Mistakes to Avoid
After we explore the steps on how to make a box for jewelry, it's important to be aware of some common mistakes that can detract from the quality and appearance of the final product. Here's what to watch out for:
Conclusion
Crafting your own jewelry box can be a rewarding endeavor, allowing you to not only make a functional box for your jewelry but also unleash your creativity in personalizing it. By following our step-by-step instructions on how to make a jewelry box and taking note of the common mistakes to avoid, you can craft a stunning jewelry box that's both an organizational tool and a reflection of your style. The beauty of a handmade jewelry box lies in the personal details, so don't hesitate to let your individual style shine through in the final product.