Paper rings are a delightful craft that combines creativity with simplicity. Whether you're looking for a fun project to do with the kids, a handmade gift for a friend, or just a unique accessory, learning how to make a paper ring is a great place to start.
This guide walks you through how to make a paper ring step-by-step for origami, heart-shaped, and butterfly designs. Plus, we'll share some essential tips to help you perfect your paper ring creations. Let's get started!
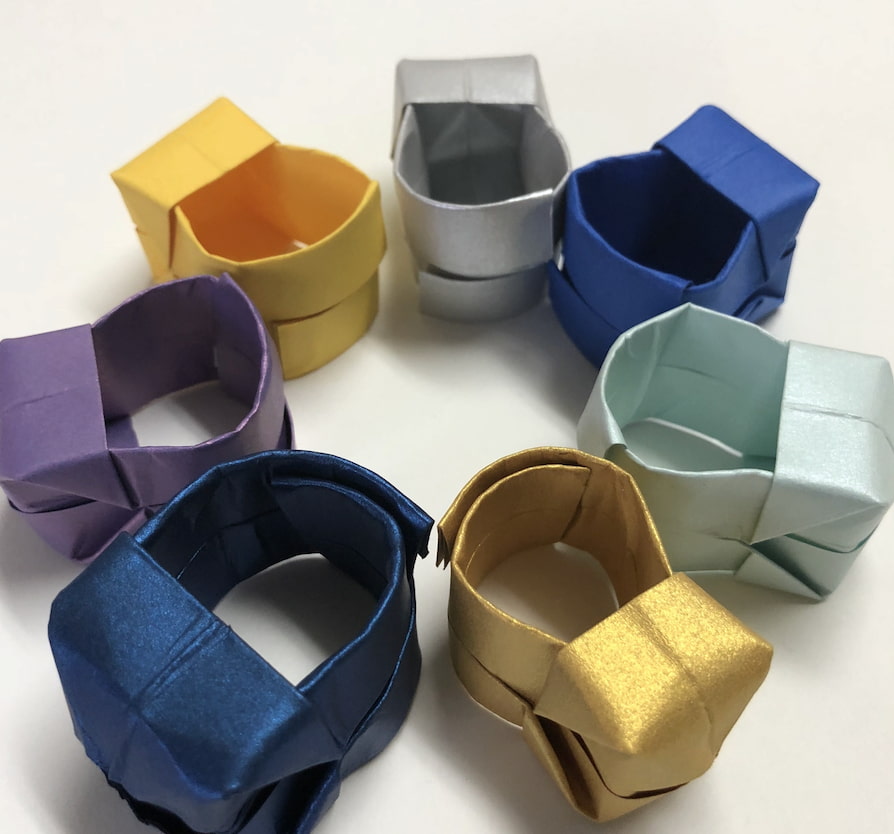
How to Make Origami 'Jewel' Paper Rings
Origami, the traditional Japanese art of paper folding, can be used to create intricate and beautiful designs, including elegant rings. Here's how to make a ring from paper in Origami 'jewel' style:
Materials Needed:
Steps:
1.Prepare Your Paper: Cut your paper into a rectangle measuring approximately 4 inches by 2 inches. Avoid using construction paper as it is too thick and prone to tearing.
2.Fold the Rectangle in Half Lengthwise: Fold the paper lengthwise, bringing the bottom edge up to the top edge, then unfold to reveal the center crease.
3.Fold the Edges to the Center: Fold both long edges to meet at the center crease you just made. This creates a narrower rectangle.
4.Fold in Half Widthwise: Now fold the paper widthwise, bringing one short end to meet the other. Press down firmly to make the fold crisp.
5.Crease the Corners Inward: At one end of your folded paper, crease the two corners inward to meet at the center line, similar to the start of a paper airplane. This forms a pointed tip. Unfold these triangles temporarily.
6.Create the Central Triangles: Push the triangles you just creased inward, allowing the paper to collapse halfway, forming an open and pointed end.
7.Fold the Long Edges Again: Continue folding the long edges of both the top and bottom layers to meet in the center. Flip the paper over and repeat. This step narrows the paper further, intensifying the creases.
8.Form the Ring's "Jewel": Gently pull apart the two unpointed ends of your rectangle. As you tug, the center will start to pop out, forming a 3-dimensional "jewel." Use a pencil's eraser end to enhance the jewel's shape.
9.Curl and Secure the Ring Band: Place a pencil at one of the rectangle's short ends. Wrap the paper edge around the pencil, rolling it towards the center to create a curled band. Do the same on the other end. Slide one end of the curled paper inside the middle crease to secure the ring band.
10.Final Touches: You can add a dab of glue or brush on some clear nail polish to hold everything securely in place and add a glossy finish.
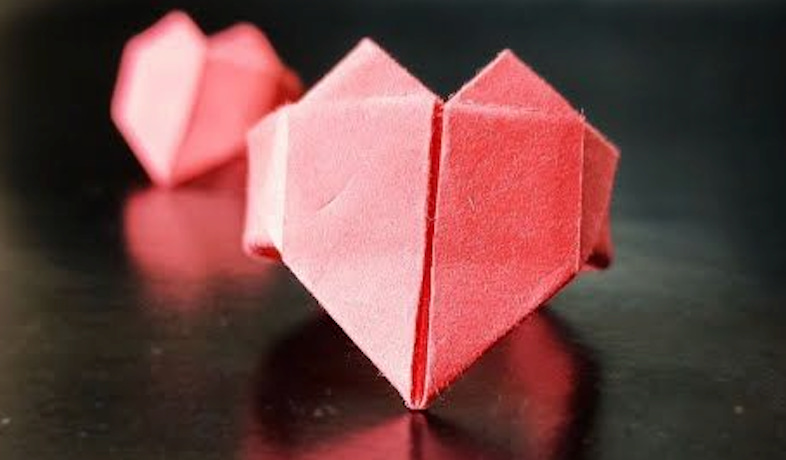
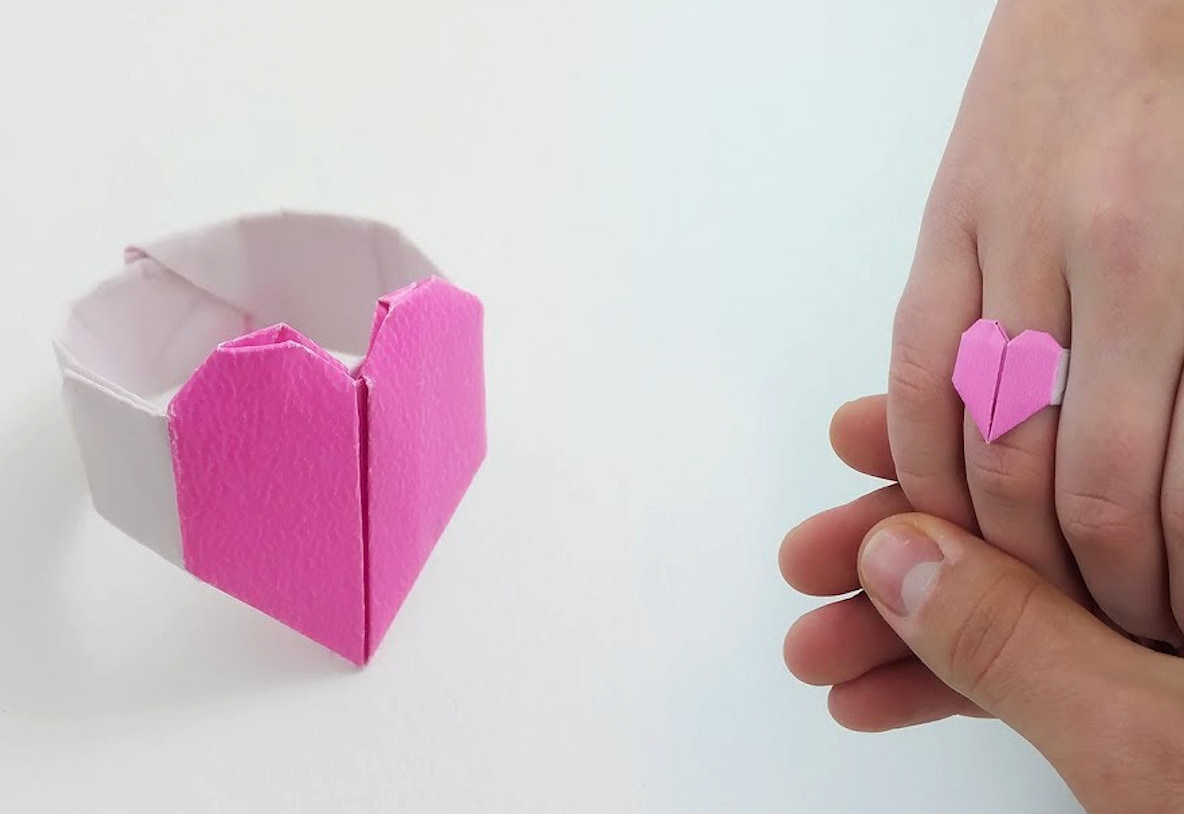
How to Make Paper Heart Rings
Crafting paper heart rings is a wonderful way to create thoughtful, personalized gifts or fun accessories for yourself. These rings feature a cute heart-shaped embellishment on top, made entirely from paper. Here's how to make a ring out of paper with a heart on top:
Materials Needed:
Steps:
1.Start by Folding: Begin with your square piece of paper. Fold it in half to create a crease, then open it back out.
2.Create the Initial Creases: Fold the bottom edge of the paper up to the middle crease you just made, then fold what is now the bottom edge up to the middle crease again.
3.Form the Basic Shape: Turn the paper 180 degrees and repeat the previous steps for symmetry.
4.Detailed Shaping: After unfolding and folding the paper in half in the opposite direction to your initial fold, you'll start to shape the top of the heart. This involves folding down the top crease and then drawing the top left and right corners down to align with the center crease.
5.Finalize the Heart Shape: Flip the paper over, keeping the pointed tip at the top. Fold this point down as directed by your design to start defining the heart shape at the top.
6.Create the Ring Band: Work on opening out and flattening the sides to make the paper more pliable and ready for forming the ring band. Fold the paper strip into a circle and gently adjust the ends to slide one into the other, securing the ring's shape.
7.Finishing Touches: Secure the ends with glue. Hold in place until the glue dries completely to ensure the band holds its shape. For added durability and a glossy finish, apply a thin layer of clear nail polish over the entire ring, including the heart and the band. Allow it to dry completely.
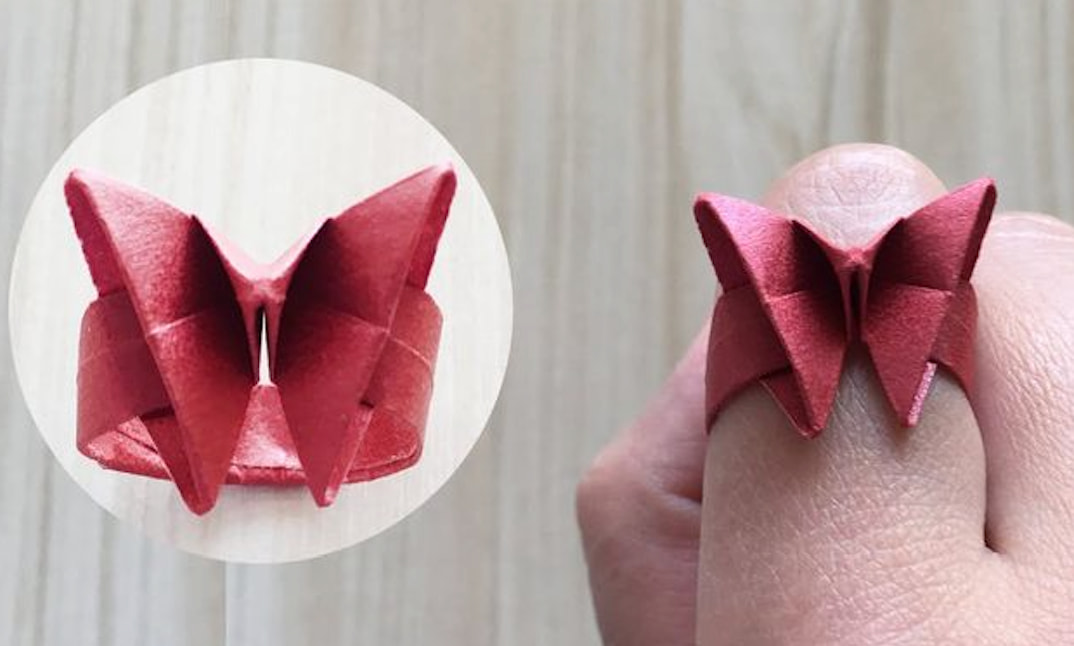
How to Make Butterfly Paper Rings
To add a touch of nature's elegance, consider this butterfly paper ring design. Here's how to make a ring using paper for a butterfly shape:
Materials Needed:
Steps:
1.Prepare the Paper: Start by cutting the piece of paper to a rectangle approximately 6 inches long and ¾ inch wide. Fold it in half lengthwise to establish a crease, then unfold.
2.Fold the Corners: Fold the rectangle widthwise. Crease the corners of the folded edge inward so they meet in the middle, forming a pointed end on one short side of the rectangle. Crease firmly, then unfold the corners and the rectangle.
3.Create the Butterfly Shape: Push the triangles formed by your corner folds inward, collapsing the rectangle in half, creating a structure that’s open at one end and pointed at the other.
4.Refine the Shape: Hold the pointed end and fold the top layer of the strip vertically over the point to align with the base of the pointed triangle. Flip and repeat on the other side.
5.Detailed Folds: On the upper layer of the closed end, fold the corners inward to meet at the center. Lift the bottom of the strip up over these corners, crease, and let it fall back.
6.Adjust the Proportions: Create a bump by lifting the upper layer at the sides and align it so it covers half of the triangle folds, then press to crease.
7.Shape the Top Layer: Bend down the corners of the top layer, folding them halfway towards the center. Unfold them, then fold both long edges of the top layer inward, creasing at the center line to form a blunt arrow shape.
8.Mirror the Details: Flip the paper and repeat the folding process to ensure symmetry on both the front and back of your ring.
9.Finalize the Butterfly Ring: Gently pull the ends of the strip apart to reveal a butterfly shape in the center. Trim the ends evenly so the paper can wrap around your finger with a small overlap.
10.Secure the Ring: Tuck one end of the strip into the slot created on the opposite side. Slide it in about ½ inch to securely fasten your butterfly paper ring.
Tips for Perfect Paper Rings
Now that you know how to make paper rings with three different designs, here are some essential tips to ensure your paper rings turn out beautifully and last longer:
Conclusion
Learning how to make a paper ring can be a delightful and rewarding craft activity. With just a few simple materials and creative techniques, you can craft beautiful and unique paper rings to express your style and creativity. From the intricate folds of origami to the charming curves of paper heart rings, and the delicate butterfly, each design offers its own unique beauty. With the tips provided, you're now equipped to make paper rings that are not only beautiful but also durable and comfortable to wear.