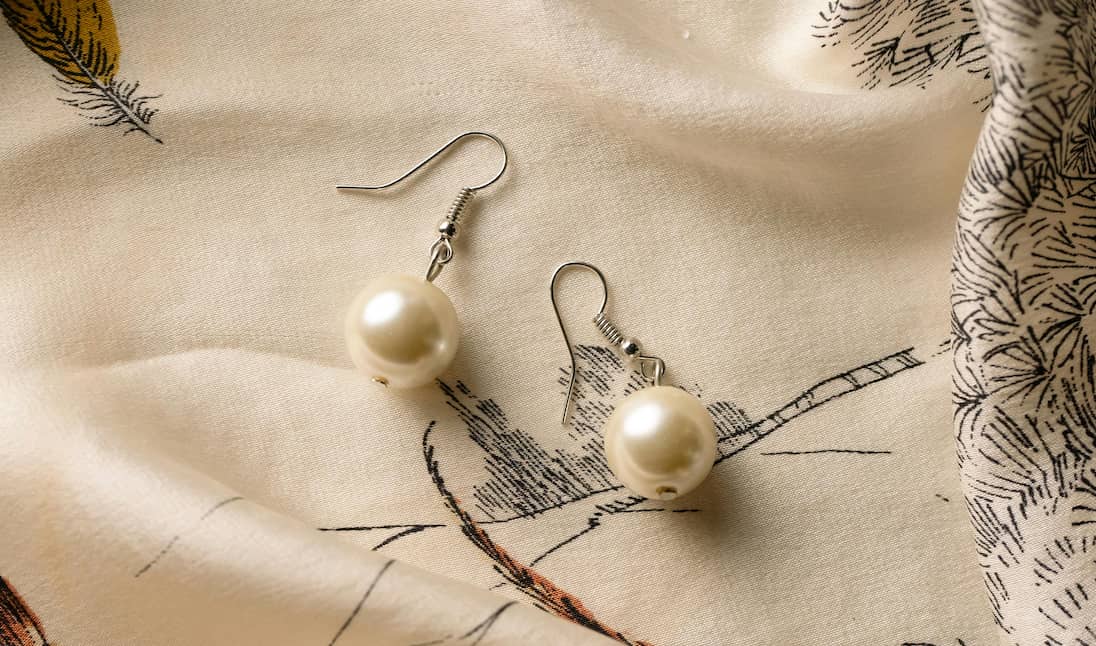
Pearl earrings epitomize elegance and timelessness, making them a coveted accessory for almost anyone. If you're looking to create your own pearl earrings, either for yourself or as a special gift, the process is easier than you might think.
This guide walks you through everything about how to make pearl earrings at home, from the essential materials and tools you need to detailed step-by-step instructions. We'll also share some expert tips on selecting the ideal pearls for your project, helping you create something truly beautiful.
Materials and Tools Needed
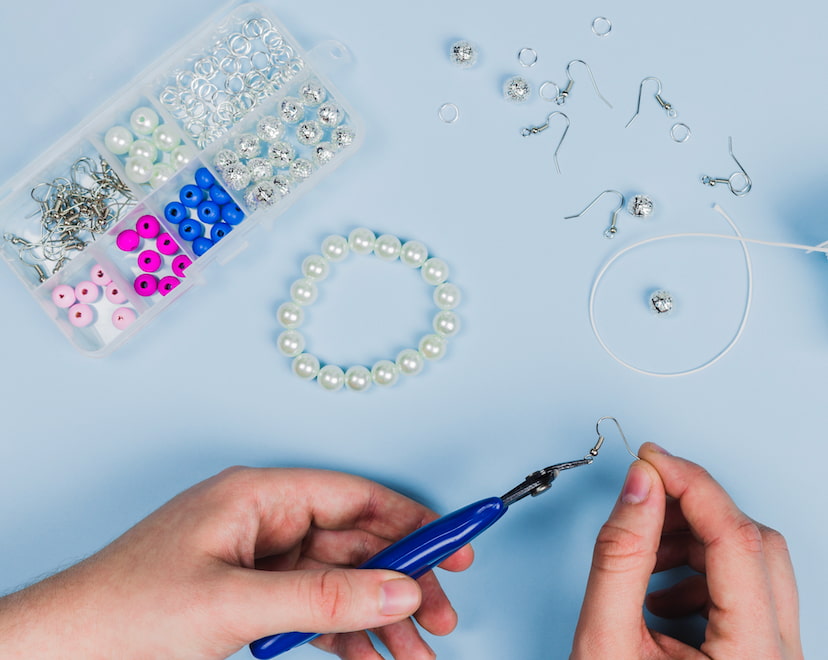
Creating your own pearl earrings begins with assembling the right materials and tools. Here's what you'll need to ensure a smooth crafting process:
Materials:
Tools:
How to Make Pearl Earrings Step-by-Step
Follow these steps on how to make earrings with pearls to craft a beautiful piece:
1.Attach Pearls to Pins: Take a head pin or eye pin and thread your pearl onto it. If you're using spacer beads, place them on the pin before or after the pearl as desired. Make sure the pearl is positioned in the center if using a head pin, or at the desired spot if using an eye pin.
2.Create a Loop: Using your round nose pliers, bend the pin above the pearl to form a 90-degree angle. Trim any excess wire with wire cutters, leaving about a centimeter to form a loop. Then, use the round nose pliers to curl the wire into a complete loop. This loop will connect to your earring hook.
3.Attach to Earring Hook: Open the loop you just created slightly with your flat nose pliers. Hook it onto the base of your earring hook, and then close the loop securely with your pliers to ensure the pearl dangles correctly and is securely attached.
4.Repeat for the Second Earring: Repeat all steps to make the second earring, ensuring it matches the first. This symmetry is important for a professionally crafted look.
5.Final Adjustments: Inspect your earrings for any irregularities or sharp edges. Adjust any misalignments with the pliers, and if you've used jewelry adhesive, allow it to dry completely. Give your newly crafted pearl earrings a gentle polish with a soft cloth to enhance their shine.
Tips for Choosing the Best Pearls for Earring Making
Selecting the right pearls is crucial for the aesthetic and durability of your earrings. Here are some tips to help you choose the best pearls:
Understand Pearl Types
Most pearls on the market are cultured pearls cultivated with human assistance in pearl farms. Natural or wild pearls are extremely rare and much more expensive. There are several types of cultured pearls, each with unique characteristics:
Consider the Luster
Luster is the amount of light pearls reflect from their surface and is a key indicator of quality. The higher the luster, the more the pearl will sparkle and shine. When choosing pearls, look for ones that have a bright, reflective surface as they will add a stunning glow to your earrings.
Check for Surface Quality
The surface of the pearl should be as smooth and free from blemishes as possible. Minor imperfections are normal, but excessive marks or pits can detract from the pearl's beauty and may affect the durability of your earrings.
Evaluate Size and Symmetry
For earrings, it's important that the pearls are symmetrical and similar in size. This symmetry will ensure that your earrings look balanced and elegant when worn. Pearls are measured in millimeters; for earrings, sizes between 6mm and 10mm are commonly used, but you can choose based on your personal preference and the style of the earring.
Select Color and Shape
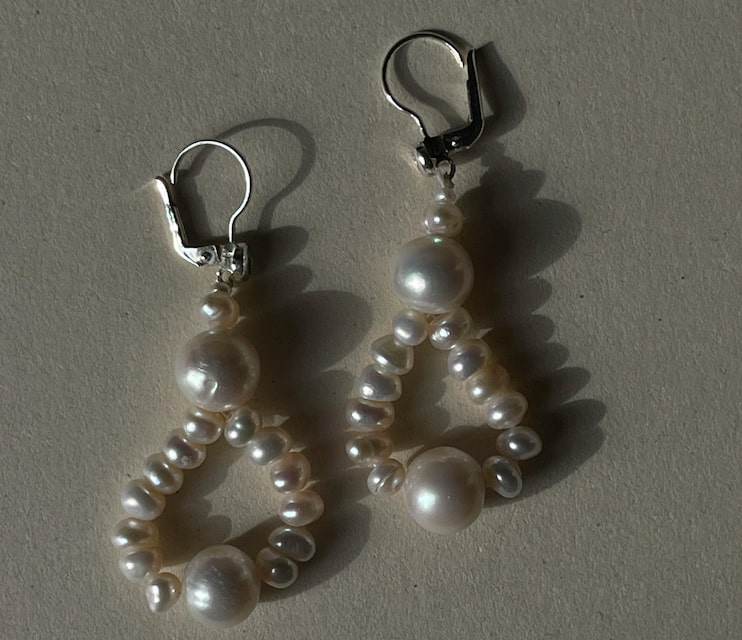
Pearls come in a variety of colors, from classic white and cream to bold black, pink, and even gold. Consider your skin tone and personal style when selecting pearl colors. Also, think about the shape of the pearl. Round pearls are classic, but baroque or teardrop-shaped pearls can add a unique flair.
Consider Hole Drilling
When buying pearls specifically for earring making, ensure they are already drilled. Pearls can be half-drilled (ideal for posts or studs) or fully drilled (best for drop or dangle earrings). Check the quality of the drilling; poorly drilled pearls can have chipped edges which could weaken the structure.
Conclusion
Learning how to make pearl earrings from scratch is a rewarding experience that allows you to express your creativity while producing a stunning piece of jewelry. By following the essential steps and tips outlined, from gathering the necessary materials and tools to the detailed assembling process, you can create beautiful pearl earrings to cherish or share. Remember, the beauty of DIY jewelry lies in the personal touch you add, so feel free to experiment with different styles and techniques to reflect your unique taste.