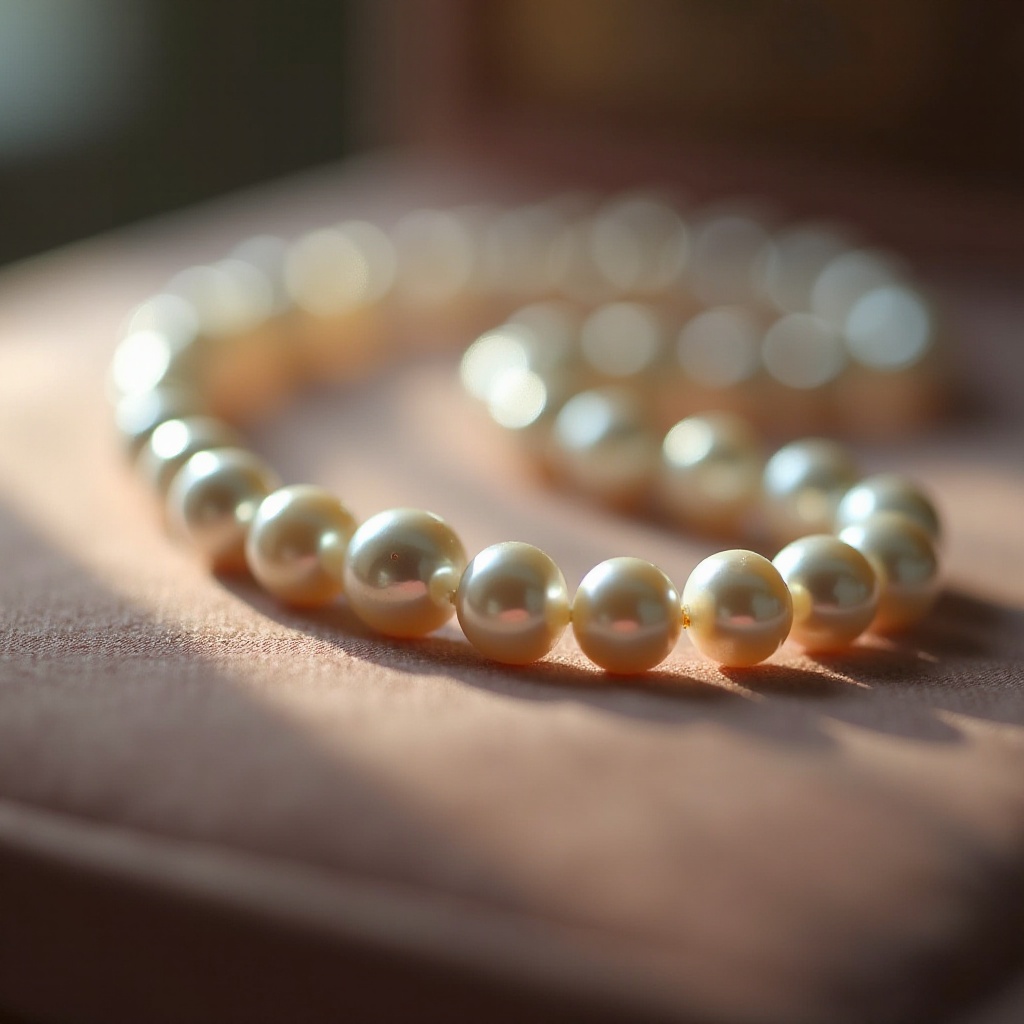
Pearl necklaces hold a timeless allure, blending classic elegance with modern charm. If you've ever admired the sophisticated touch they add to any outfit, creating your own pearl necklace can be a rewarding and artistic endeavor.
This guide walks you through the whole process of how to make pearl necklace, from selecting the right materials and tools and designing your layout to the actual step-by-step stringing instructions. Follow us to create your own pearl necklace that's both personal and beautiful.

Materials and Tools Needed
Before we delve into the steps of how to make a pearl necklace, a thoughtful selection of materials and tools ensures the final product is both beautiful and durable. Here's what you'll need to get started on your pearl necklace project:
Materials:
Tools:
Designing Your Necklace
The first step of how to make a necklace with pearls is to plan out the design. Here are some steps and tips to help you create a design that's both beautiful and uniquely yours.
Choose a Style
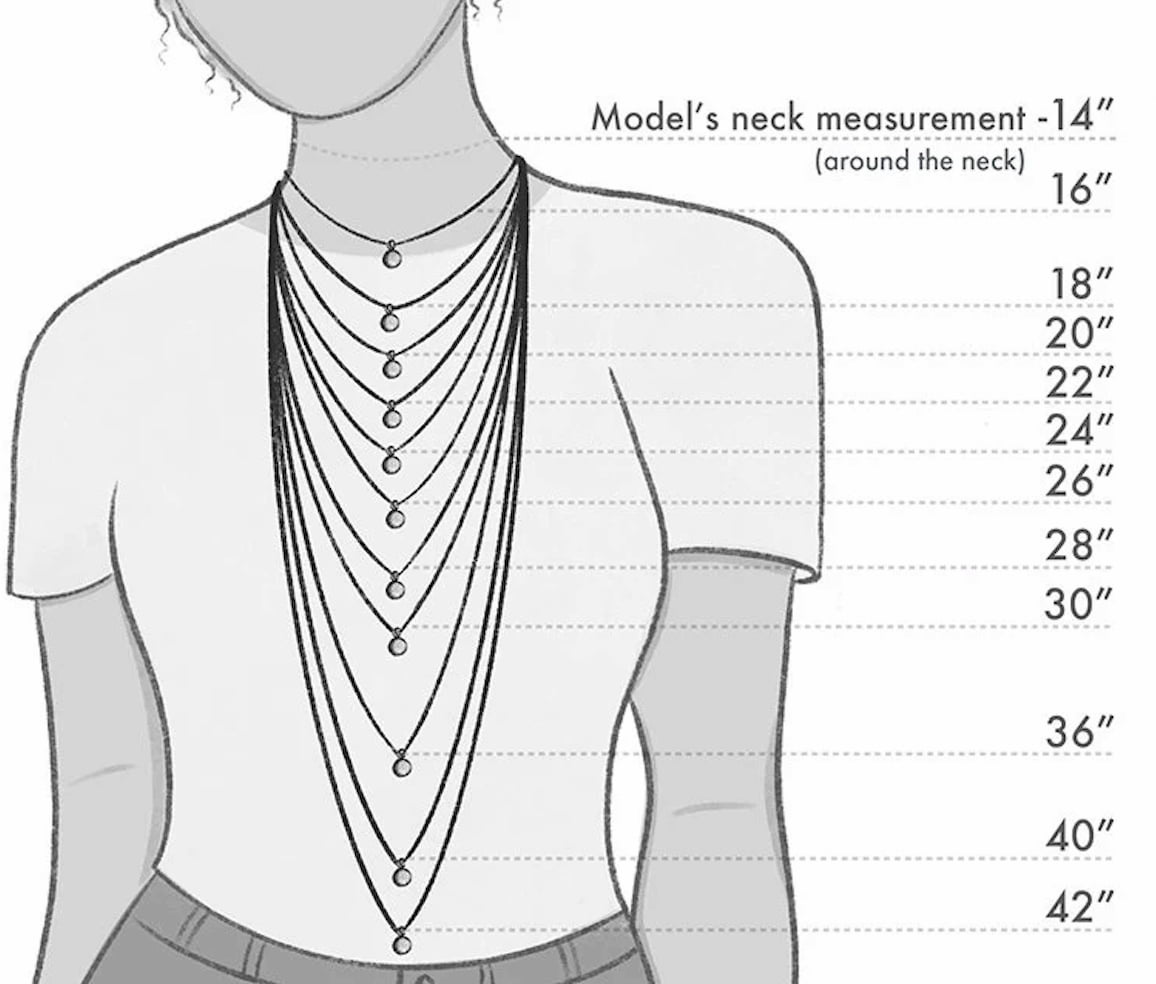
Decide on Length
Consider the necklace length based on the neckline of the attire it will accompany and your personal style preferences.
Layout the Design
Lay out the pearls on a bead board to visualize the design. This allows you to experiment with different arrangements, ensuring the final result meets your vision.
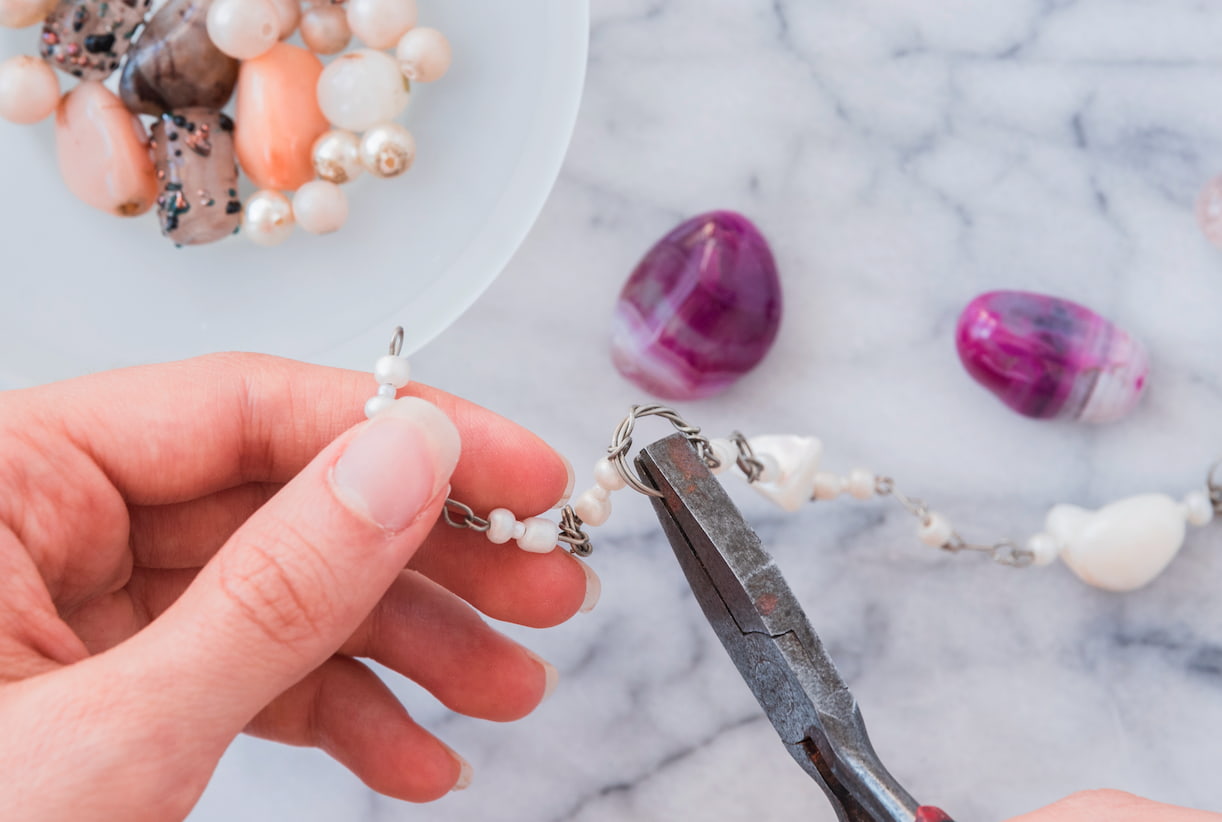
A Step-by-Step Guide on How to String Pearls onto the Necklace
So, how do you make a pearl necklace? Follow these steps to create a stunning pearl necklace that stands the test of time:
1.Cut the Thread: Measure and cut a length of thread that is about three times the final length of your necklace. This extra length accounts for the knots you'll tie.
2.Prepare the Needle and Thread: Thread your needle with the silk or nylon thread. Choose a needle with a small eye that fits the thread comfortably. Double the thread for extra strength and tie a knot at the end.
3.Add the Bead Tip or Knot Cover: Slide a bead tip onto the thread and let it fall to the knot at the end. Use jeweler's glue or clear nail polish to reinforce the knot if desired.
4.Secure the Clasp: Close the bead tip around the knot, and then attach one part of the clasp to the loop of the bead tip.
5.Start Stringing: Begin threading the pearls one by one onto the string. If you're using a pattern or adding spacer beads, pay close attention to the sequence.
6.Knot Between Pearls: After adding each pearl, tie a small knot with the thread. This helps keep the pearls in place and prevents them from rubbing against each other, which can cause damage. Use tweezers to tighten the knot right next to the pearl for precision.
7.Continue the Process: Keep adding pearls and tying knots until your necklace reaches the desired length.
8.Add the Final Bead Tip: Once you reach the desired length, slide the second bead tip onto the thread, and secure it close to the last pearl.
9.Tie Off the Thread: Knot the thread near the final bead tip. Apply a small amount of jeweler's glue to the knot for extra security.
10.Attach the Other Side of the Clasp: Close the bead tip around the knot and attach the remaining part of the clasp.
11.Trim Excess Thread: Once the glue has dried, carefully trim any excess thread beyond the knots.
12.Inspect the Necklace: Look over your necklace for any uneven spacing or loose pearls. If any adjustments are required, carefully unclasp the necklace and adjust the beads or knots.
Conclusion
Learning how to make pearl necklace is an exciting process filled with creativity and craftsmanship. With the tips and steps outlined in this guide, you can start your own pearl necklace making adventure with confidence. No matter if you choose to keep it simple and elegant or add personalized charms and pendants, your handmade creation is sure to be a timeless treasure that you'll cherish for years to come. Now, gather your materials, unleash your imagination, and enjoy the satisfaction of crafting a beautiful pearl necklace that is uniquely yours.