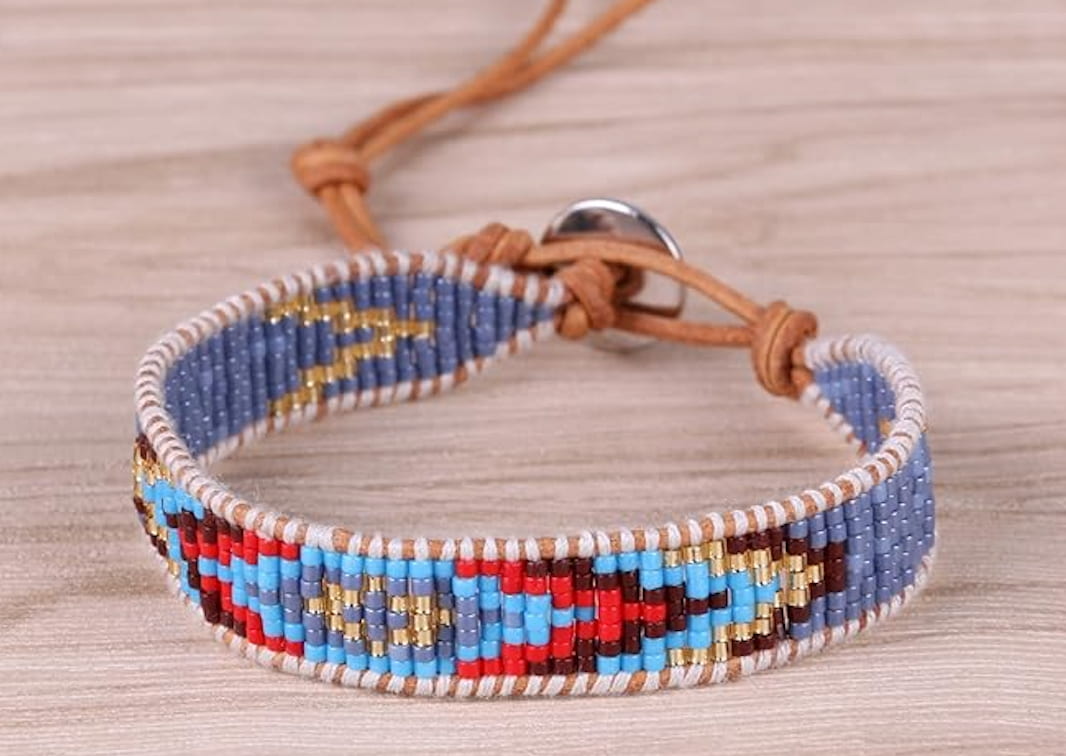
A woven beaded bracelet is a piece of jewelry made by threading beads onto string or wire and interlacing them to create intricate patterns and designs. They are not only a stylish addition to any outfit but also a meaningful gesture when given as a gift.
If you're looking to start a new hobby or wanting to gift your loved ones beautiful, self-crafted accessories, this guide will walk you through the essentials. From selecting the right supplies to detailed step-by-step instructions on how to make woven beaded bracelets, we have everything you need to embark on this creative journey. Let's get started!
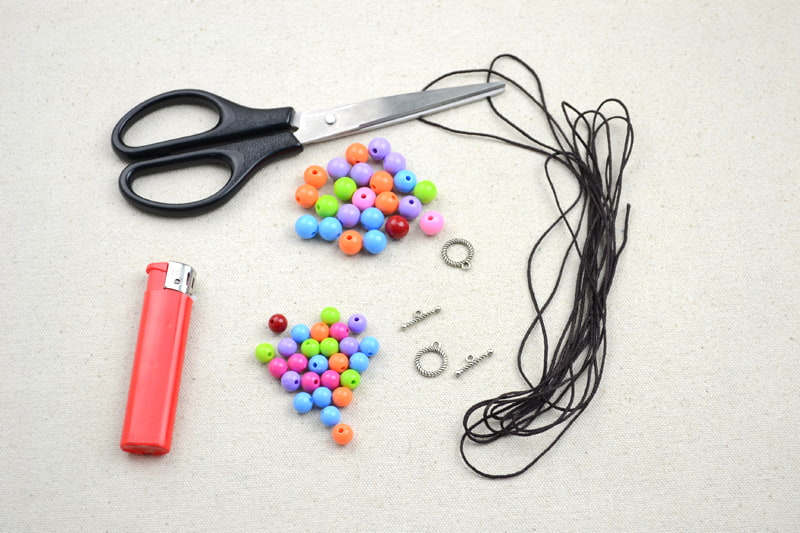
Essential Supplies for Woven Beaded Bracelets
Before we dive into the steps on how to make a woven bracelet with beads, it's crucial to gather all the necessary supplies. Here's what you'll need:
How to Make a Woven Beaded Bracelet?
Creating a woven beaded bracelet is a fun and rewarding project that lets you explore your artistic side. Once you have the materials and tools ready, follow these step-by-step instructions on how to weave a bracelet with beads to create a beautiful bracelet of your own:
1.Design Your Pattern: Before you start, plan out your bracelet design. You can sketch it on graph paper or use beading software to visualize the pattern and color arrangement. Decide on the length and width of the bracelet based on your preference and wrist size. (Find popular bead bracelet patterns and ideas.)
2.Setup Your Beading Space: Prepare a comfortable workspace with good lighting. Organizing your beads and tools beforehand can make the process smoother and more enjoyable. If you're using a bead loom, set it up according to the manufacturer's instructions. Securely attach the threads on the loom, ensuring they are taut and evenly spaced.
3.Thread Your Needle: Cut a length of beading thread (about an arm's length to avoid tangling), and thread your needle. Tie a knot at one end of the thread.
4.Begin Beading: Start by attaching the thread to the first warp thread on the loom. Pick up the beads for your first row according to your pattern and slide them down the thread. Place them under the warp threads and use the needle to go back through the beads, this time passing through the top of the warp threads to secure the beads in place.
5.Continue Adding Rows: Repeat the process for each subsequent row. Ensure each row is tight and the beads sit neatly against each other.
6.Finish the Ends: Once you reach the desired length, weave the remaining thread through several beads back and forth to secure it and cut off any excess. Repeat this on the other end of the bracelet.
7.Attach the Clasp: Using additional thread, attach your chosen clasp to each end of the bracelet. Secure the clasps by weaving the thread through several beads and back through the clasp several times. Tie off and trim any excess thread.
8.Remove from Loom: Carefully remove your bracelet from the loom. You might need to weave in any remaining loose ends for a neat finish.
9.Final Touches: Examine your bracelet for any loose beads and secure them with additional thread if necessary. Trim any remaining loose threads.
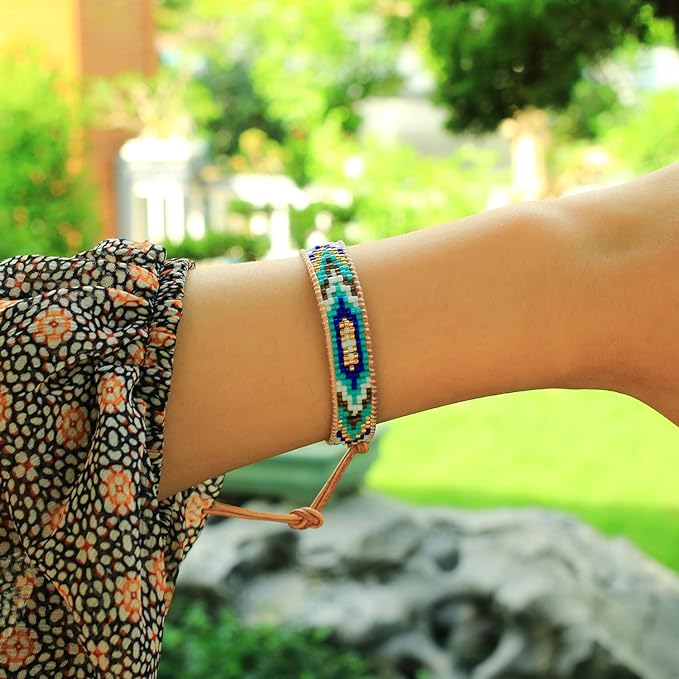
Conclusion
Crafting woven beaded bracelets is not only a rewarding creative outlet but also a fantastic way to personalize your style or create memorable gifts for loved ones. By following the steps outlined on how to make woven beaded bracelets, from gathering the right materials to weaving and finishing your bracelet, you're ready to start crafting your unique creations. Use the skills and techniques you’ve learned in this bead weaving bracelet tutorial to experiment with different colors, patterns, and textures. Each bracelet you create not only adds to your collection but also enhances your crafting skills. So, gather your beads, choose your pattern, and start weaving your way to stunning handmade jewelry today!