Soldering jewelry is a captivating craft that requires precision, patience, and a steady hand. Are you trying to repair a beloved jewelry piece or a hobbyist looking to craft a new design from scratch? Mastering the process of how to solder jewelry is essential.
In this guide, we'll walk you through this process step by step, covering the materials and tools needed, safety precautions, and how to tackle common issues you might encounter along the way. By the end, you'll have a comprehensive understanding of how to solder jewelry with either a torch or a soldering iron.
Materials and Tools Needed
Before diving into the soldering process, it's crucial to gather the necessary materials and tools. Here's what you'll need:
Materials
a) Silver Solder: Available in hard, medium, and easy grades. Ideal for silver and other metals.
b) Gold Solder: Different karat grades match the gold being soldered.
c) Brass or Copper Solder: Suitable for base metals.
Tools
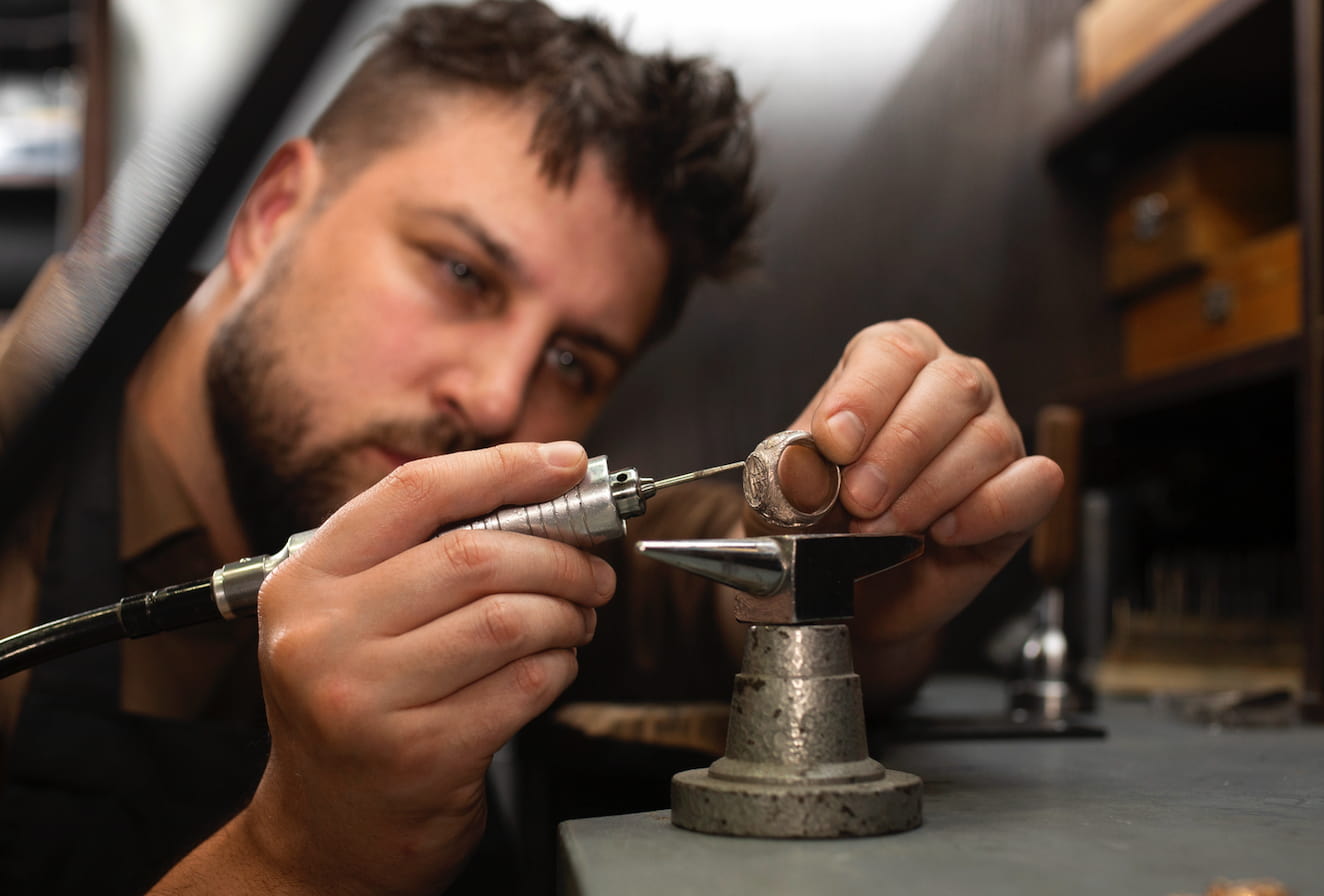
How to Solder Jewelry with a Torch in 6 Steps?
Now that you have your materials and tools ready, let's walk through the process of soldering jewelry with a torch in six steps:
Step 1: Prepare Your Workspace
Begin by establishing a safe soldering environment. Utilize a spacious ceramic tile, fire brick, or heat-resistant pad as your work surface, accompanied by ample overhead lighting. Organize all tools and materials within easy reach. Ensure your workspace is clean, well-ventilated, and free of any flammable materials. Put on your safety glasses and heat-resistant gloves.
Step 2: Clean and Position the Components
In your designated workspace, meticulously inspect the pieces to be soldered, ensuring they fit snugly. File as needed for a precise fit. Prioritize cleanliness by removing grease and oils from the metal using a pickle solution. Arrange the pieces precisely on the soldering surface, securing them with binding wire or a third-hand tool.
Step 3: Apply Flux and Place Solder
Using a brush, apply a thin layer of flux to the joints where the solder will flow. This prevents oxidation and helps the solder spread. Cut small snippets of solder (known as "pallions") and position them on or near the joints with tweezers.
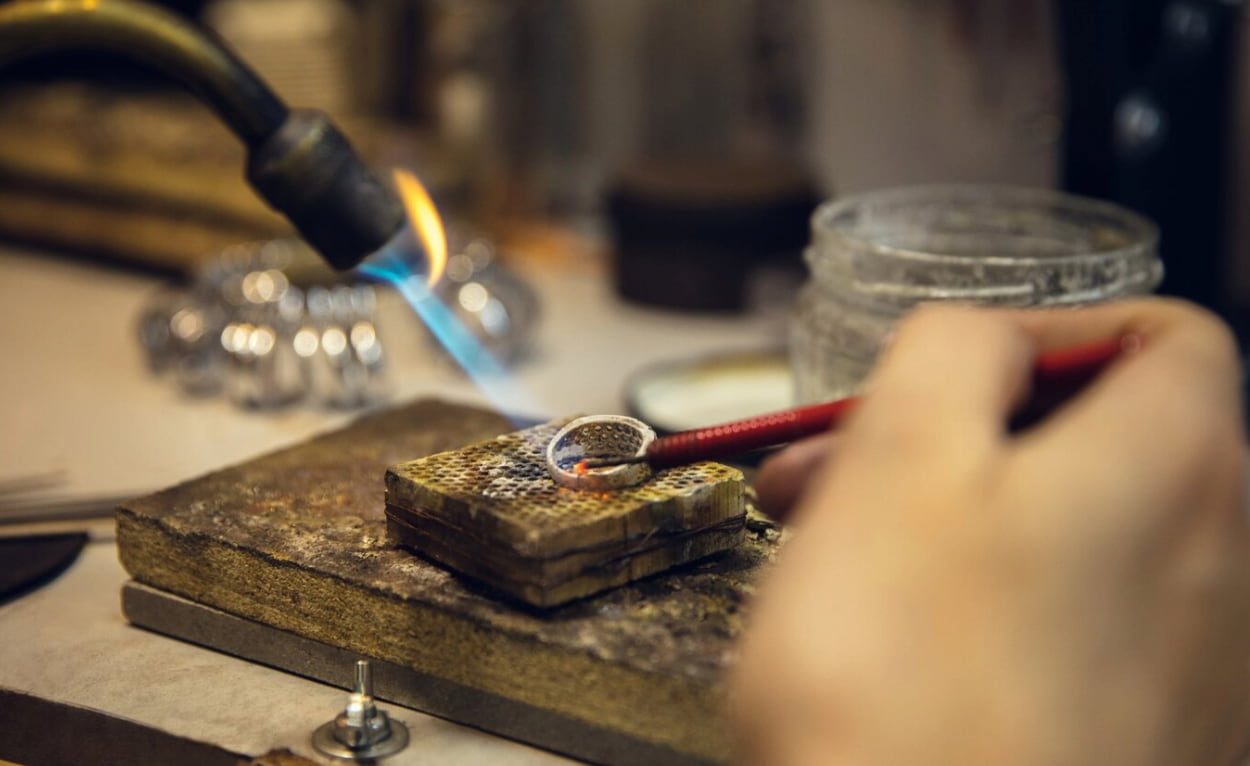
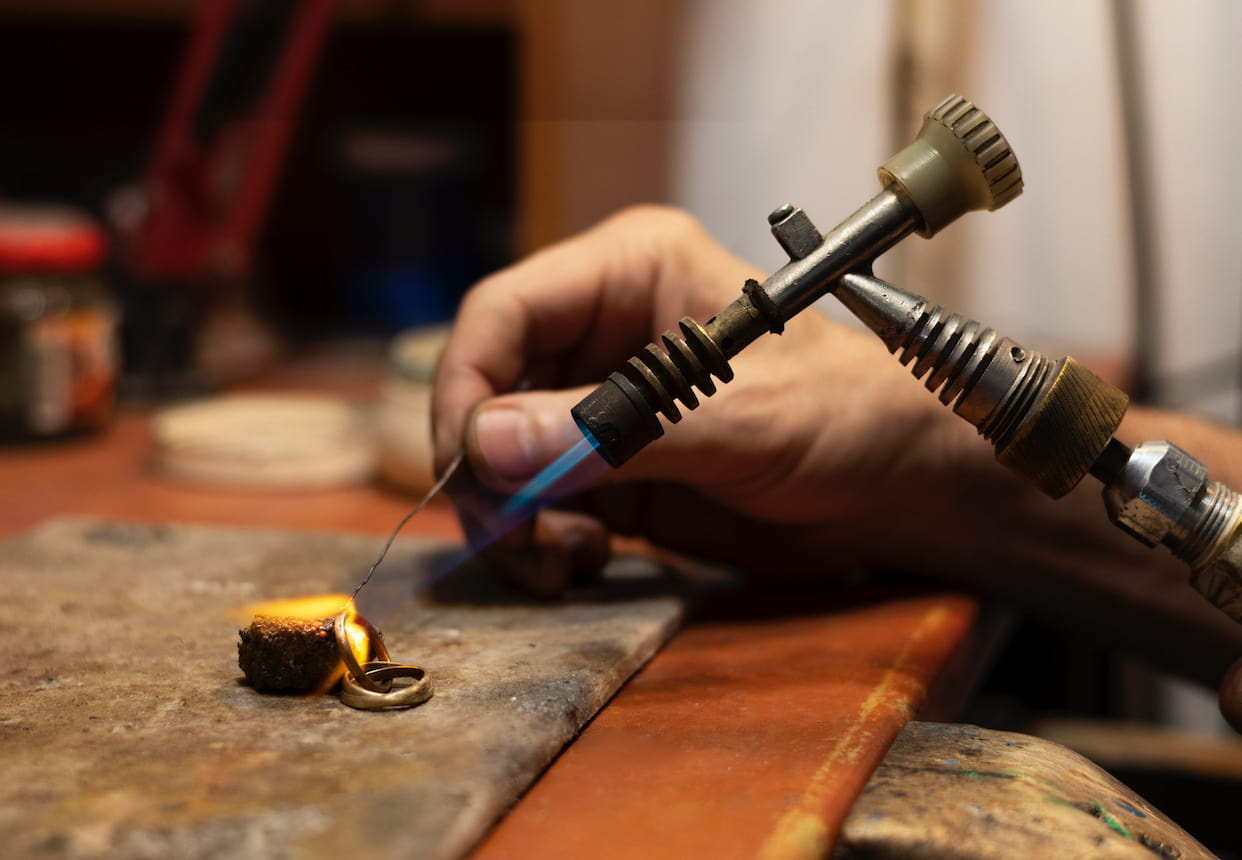
Step 4: Heat with a Torch
Light the torch. Adjust the flame to a medium size for small pieces and a larger flame for bigger pieces. Begin heating the larger mass of metal first to ensure even heating. Move the flame around the joint area in a circular motion, focusing on heating the metal rather than the solder directly. Once the metal is sufficiently heated, the solder will flow into the joint.
Step 5: Cool and Clean the Jewelry
Once the solder flows and the joint is complete, remove the heat and allow the piece to cool slightly. Then, using pliers, quench the piece in water. After quenching, place the piece in a warm pickle solution to remove oxidation and flux residue. Let it soak for 5-10 minutes.
Step 6: Finish and Polish the Jewelry
Rinse the jewelry in clean water and dry it thoroughly. Use files, sandpaper, or polishing cloths to smooth rough edges and clean up excess solder. Apply a burnisher or polishing compound for a brilliant finish.
How to Use Soldering Iron for Jewelry
If you're concerned with the flames and wondering how to solder jewelry without a torch, a soldering iron can be a valuable alternative. It's particularly useful for smaller, more delicate projects or when working with soft metals. Here's how to use a soldering iron for jewelry:
Step 1: Prepare Your Workspace
Create a well-lit, well-ventilated workspace with a heat-resistant surface. Wear safety glasses and heat-resistant gloves to protect yourself from accidental splatters.
Step 2: Select the Right Soldering Iron and Tip
Choose a soldering iron with adjustable temperature settings and a fine-point tip for precise soldering or a chisel tip for broader joints. Ensure the tip is clean and well-tinned.
Step 3: Prepare the Solder and Apply Flux
Use a solder wire that matches the metal you're working with. Silver solder or lead-free solder is best for fine jewelry. Apply a thin layer of flux to the joints to prevent oxidation and help the solder flow.
Step 4: Clean and Position the Jewelry Components
Ensure the metal surfaces are clean by filing, sanding, or polishing them. Arrange the pieces securely on the heat-resistant surface. Hold them in place using a third-hand tool, binding wire, or cross-locking tweezers.
Step 5: Apply Heat with the Soldering Iron
Plug in the soldering iron and allow it to reach the appropriate temperature (around 300°C or 570°F for most jewelry metals). Apply a small amount of solder to the tip to coat it evenly, improving heat conductivity. Place the soldering iron's tip directly on the joint for a few seconds to heat it up. Avoid overheating the joint to prevent damage to delicate components.
Step 6: Apply Solder to the Joint
Once the joint is heated, feed the solder wire into the joint, letting it melt and flow over the surface. Avoid touching the solder directly to the iron tip. Remove the soldering iron and allow the molten solder to spread evenly across the joint. If needed, reposition the iron to help the solder flow.
Step 7: Cool and Finish the Jewelry
Allow the jewelry to cool naturally for a few minutes. Use a pickle solution to remove any flux residue. File and polish the joint to smooth rough edges and create a clean finish.
Safety Tips
Soldering jewelry involves high temperatures, chemical compounds, and potentially harmful fumes, so it's essential to prioritize safety throughout the process. Here are some crucial safety tips to follow when soldering jewelry:
Troubleshooting Common Problems
Even with careful preparation and practice, issues can arise during the soldering process. Understanding how to identify and address these problems ensures seamless joints and high-quality results. Here are common soldering problems and how to fix them.
Solder Won't Flow
Cause: Dirty metal surfaces or insufficient heat.
Solution:
Solder Balling Up
Cause: Insufficient heat or overheating.
Solution:
Poor Joint Quality (Cracks or Gaps)
Cause: Movement during cooling or insufficient solder.
Solution:
Excessive Solder Overflow
Cause: Too much solder applied or incorrect placement.
Solution:
Conclusion
Mastering how to solder jewelry empowers you to take on a variety of projects, from simple repairs to intricate designs. By following the steps outlined on how to weld permanent jewelry in this guide and keeping safety at the forefront, you'll be well on your way to creating seamless joints. Remember to troubleshoot common problems as they arise and practice consistently to refine your technique. With patience and precision, you'll soon be crafting stunning pieces that reflect your unique style and skill.