Stranding pearls involves threading them onto a silk or nylon cord, ensuring they are evenly spaced and securely knotted. Here's a step-by-step guide:
- Prepare Materials: Use a strong, flexible string such as silk, nylon, or wire, along with a needle, beads for spacers, and clasps for finishing.
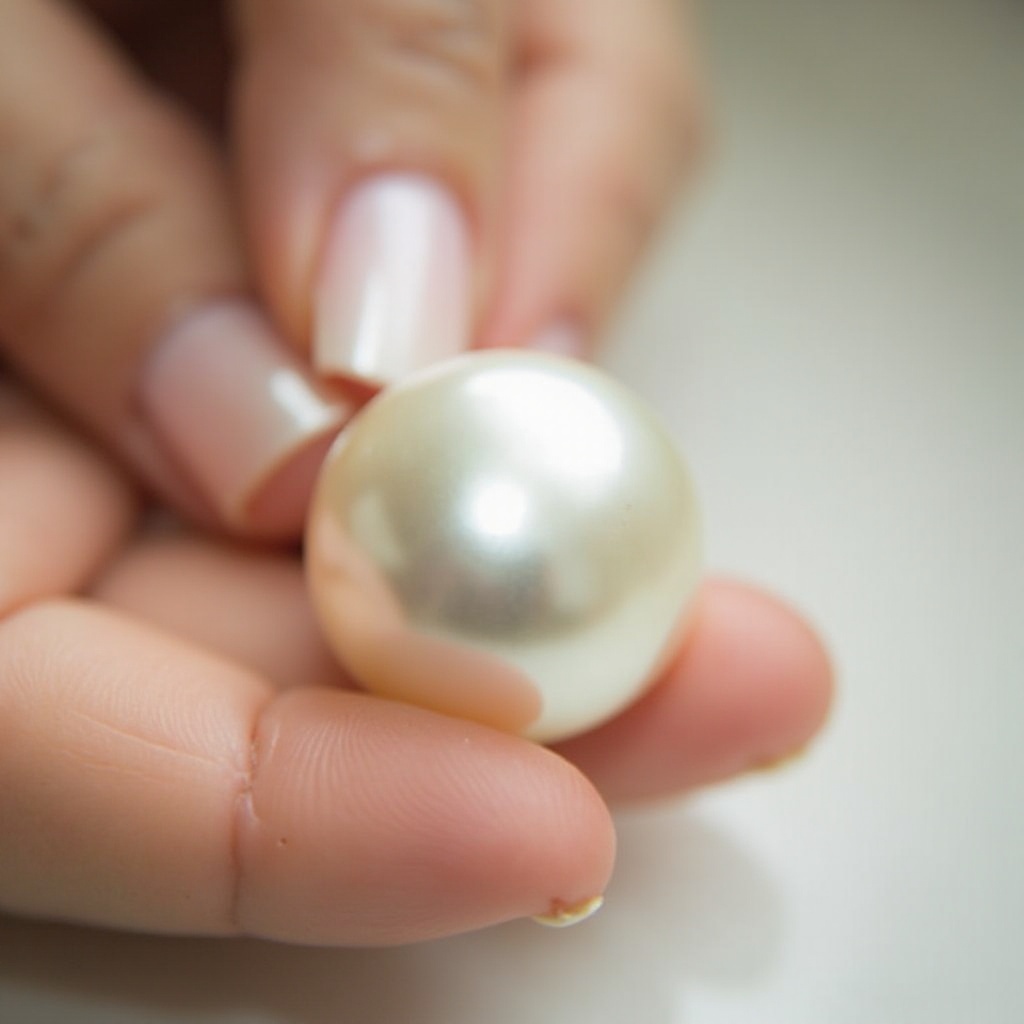
- Select Pearls: Choose pearls of uniform size and color for a cohesive look.
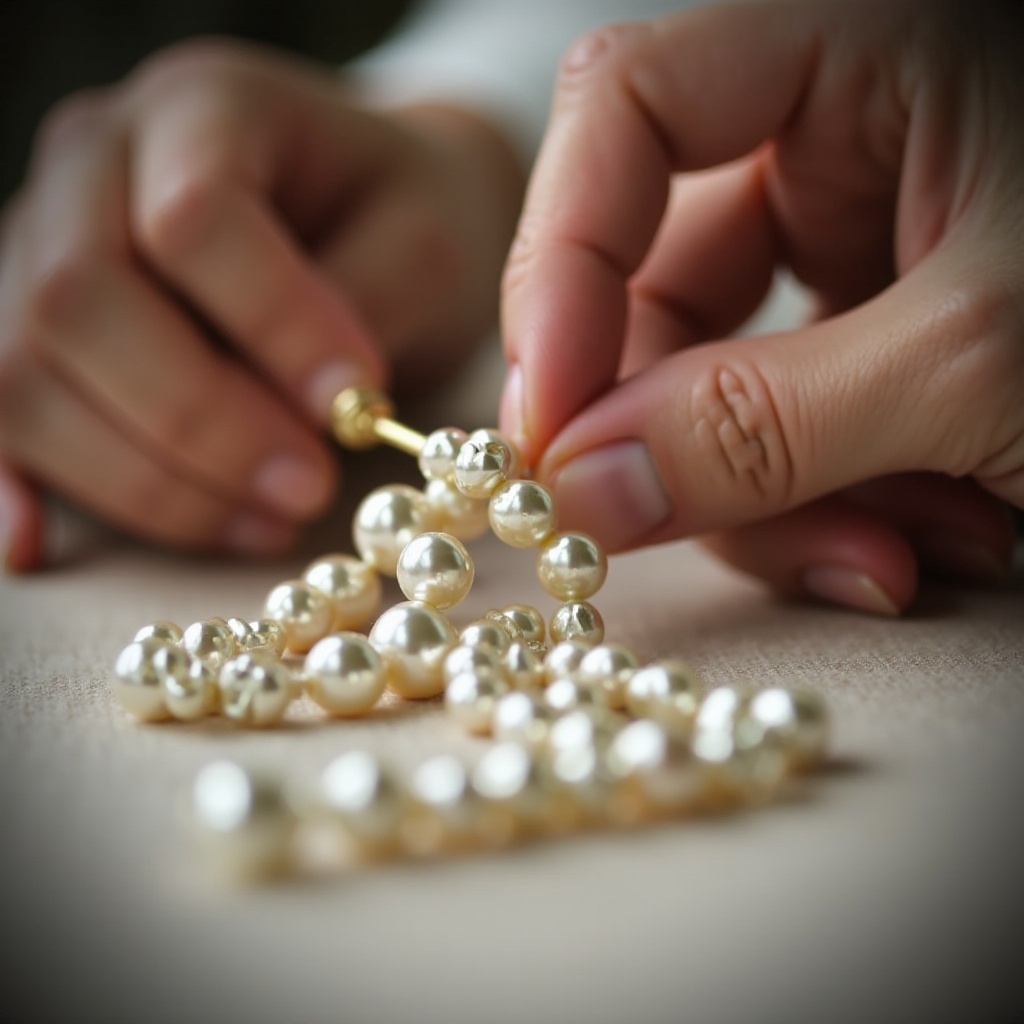
- Stringing: Use the needle to carefully thread each pearl onto the cord, adding a knot between each to prevent pearls from rubbing together and to maintain space.
- Knotting: After threading each pearl, tie a small knot using a special knotting tool, ensuring the knots are tight but not overly strained.
- Finishing: Once all pearls are strung, tie secure knots at both ends, attach the clasp, and ensure the necklace is even and secure.
This process is often done with a professional tool to make it easier, but it's essential to take time for precision to create a durable and aesthetically pleasing strand.
How to Knot Pearls?
Knotting pearls is a technique used to prevent pearls from rubbing against each other, preserving their lustre and ensuring the necklace or bracelet is durable. Here’s a step-by-step guide:
-
Choose Materials: Use a silk thread, nylon, or beading cord for knotting. You'll also need a needle, scissors, and a clasp for the ends.
-
Prepare Thread: Cut the thread to a length slightly longer than your desired finished piece. Thread the needle and prepare to knot between each pearl.
-
String the Pearls: Carefully thread each pearl onto the needle, placing it on the string. After each pearl, tie a knot close to the pearl using a knotting tool or tweezers to ensure the knot is tight and secure.
-
Adjust Spacing: The knots should be evenly spaced. Adjust the tension to ensure uniformity and no gaps.
-
Finishing: Once the pearls are knotted, finish by securing the thread ends with a knot and attaching the clasp.
This method adds elegance and ensures your piece stays in good condition over time.
Are There Some Good Pearl Beads Ideas?
Yes, there are several great pearl bead ideas for creating stunning jewelry pieces. Here are a few:
-
Pearl and Crystal Combos: Combining pearls with Swarovski crystals creates a glamorous, eye-catching look. You can use smaller crystals between larger pearls or as accents to enhance the overall design.
-
Mixed Pearl Sizes: Use a mix of large and small pearls to add texture and visual interest to necklaces or bracelets. Graduating pearl sizes can create an elegant, flowing effect.
-
Baroque Pearls: For a more unique, contemporary look, opt for baroque pearls. Their irregular shapes can create standout pieces that are less traditional and more edgy.
-
Pearl-Chain Designs: Incorporate pearls into chain link designs, either by threading them onto the chain or using wire wrapping for a modern twist on classic pearl strands.
-
Cluster Pearls: Group multiple small pearls together in clusters for earrings or pendants. This design creates a bold and luxurious statement piece.
These ideas can be combined or customized to fit different jewelry styles and occasions.
How to Make Pearl Earrings?
Making pearl earrings involves a few simple steps. Here's how you can create them:
-
Gather Materials: You'll need pearls, earring findings (such as hooks or posts), jump rings, headpins, and pliers. Choose your preferred type of pearl (round, baroque, or coin) for the design.
-
Prepare the Pearls: If your pearls are not pre-drilled, you may need to drill small holes through them. Use a fine drill bit to ensure you don’t crack the pearl.
-
Attach Pearls to Headpins: Slide a pearl onto a headpin. Use pliers to create a loop at the top of the headpin, securing the pearl in place. You can also add decorative beads before the pearl for extra flair.
-
Connect to Earring Findings: Open a jump ring using pliers and connect it to the loop on the headpin. Then attach the jump ring to the earring hook or post.
-
Finishing: Close the jump ring securely, and repeat the process for the second earring. Ensure everything is tightly connected and aligned.
Your pearl earrings are now ready to wear!
How to Make a Necklace with Pearls?
Making a pearl necklace is a simple and elegant jewelry project. Here's how to do it:
-
Gather Materials: You'll need pearls, jewelry wire or silk thread, clasps, crimp beads, a needle (if using thread), and pliers.
-
Measure and Cut the Wire: Decide on the desired length for your necklace. Cut the jewelry wire or thread a few inches longer than the length to allow for the clasp.
-
String the Pearls: Thread each pearl onto the wire or thread. You can add spacers or smaller beads between the pearls for added texture and design. Make sure to check for even spacing.
-
Secure the Clasp: Once all pearls are threaded, attach a crimp bead to the end of the wire. Slide the clasp onto the wire and secure the crimp bead using pliers. Repeat on the other end, attaching the other side of the clasp.
-
Finishing: If using silk thread, tie secure knots between the pearls. Trim any excess wire or thread and make sure everything is tightly secured.
Your pearl necklace is now ready to wear!
What Is the Setting of the Pearl?
The setting of a pearl refers to how the pearl is securely placed into a jewelry piece, such as a ring, necklace, bracelet, or earrings. It ensures the pearl is held in place while also enhancing its appearance.
-
Bezel Setting: In this setting, the pearl is surrounded by a metal rim, offering a secure and protective design. It's often used for larger pearls.
-
Prong Setting: The pearl is held in place by metal prongs that grip the pearl at a few points, allowing maximum light exposure and highlighting its luster.
-
Glue or Epoxy Setting: This method uses a strong adhesive to secure the pearl into a setting. It’s commonly used in less intricate designs or for pearls in settings like earrings.
-
Floating Setting: The pearl appears to "float" as it is secured within the setting using hidden supports, creating a minimalist and modern look.
Each setting choice impacts the overall aesthetics, durability, and style of the pearl jewelry.
How Much Agar to Add To.make Pearls?
To make edible pearls using agar, you'll typically use around 1 gram of agar powder per 100 milliliters of liquid. This ratio ensures the agar sets properly to form firm, pearl-like shapes. Here’s the process:
-
Prepare Agar Solution: Dissolve 1 gram of agar powder in 100 ml of water or juice. Heat the mixture until it boils, then simmer for a few minutes to activate the agar.
-
Form Pearls: Once the agar solution is ready, use a dropper to drip the liquid into cold oil or a cold water bath. The liquid will solidify into small pearls as it cools.
-
Set the Pearls: Let the pearls sit in the bath for a few minutes to set. Once firm, strain and rinse them to remove any excess oil.
This method creates gelatinous pearls that resemble caviar, perfect for culinary or decorative purposes. Adjust the agar quantity if you need firmer or softer pearls.
What Size Pearl Earrings?
The size of pearl earrings depends on the desired style and occasion. Here are common sizes for various designs:
-
Small Pearls (6-7mm): These are perfect for subtle, everyday wear. Smaller pearls are ideal for stud earrings, offering a classic and elegant look without being too bold.
-
Medium Pearls (7-9mm): Medium-sized pearls are versatile and work well for both casual and formal events. They are often seen in stud, drop, or hoop earrings, offering a balanced look.
-
Large Pearls (9-12mm): Larger pearls make a statement and are typically used in more formal settings. These are ideal for bold drop earrings or chandelier styles, creating a luxurious, eye-catching appearance.
-
Extra Large Pearls (12mm and above): These are typically reserved for high-end jewelry or statement pieces. They are often seen in designer earrings and can create a striking, dramatic look.
Choose the size based on your personal style, the occasion, and how bold or subtle you want the earrings to appear.
How to Layer Pearls?
Layering pearls involves combining multiple strands of pearls to create a chic, elegant, and sophisticated look. Here’s how to layer pearls effectively:
-
Choose Different Lengths: Start with a short strand as the base (e.g., choker length), followed by medium and long strands. This layering creates a graduated effect and adds depth.
-
Mix Different Types of Pearls: Combine different pearl types, such as freshwater, Akoya, or baroque pearls, for a unique, textured look. Mixing sizes can also add visual interest.
-
Maintain Symmetry: Ensure the strands are evenly spaced and well-proportioned. You can use pearl spacers or small beads to separate the strands and prevent them from tangling.
-
Use a Clasp: If you are layering multiple strands, use a multi-strand clasp or a connector to keep the strands in place. This ensures that the strands stay aligned and maintain a polished look.
-
Consider the Occasion: Layered pearls work well for both formal and casual events. Opt for shorter, delicate layers for a daytime look, and longer, bolder strands for more formal or evening wear.
This style is timeless and can easily be customized for different occasions.
How to Shorten a Pearl Necklace?
To shorten a pearl necklace, follow these simple steps:
-
Determine Desired Length: Measure the length you want for your necklace. Mark the excess length to be removed.
-
Remove the Clasp: Using pliers, carefully detach the clasp from one end of the necklace.
-
Cut the Thread: Use scissors to cut the thread holding the pearls. Ensure you cut at the marked point to remove the excess length.
-
Re-string the Pearls: If the necklace was strung on silk or nylon thread, restring the pearls onto the thread, keeping them in order.
-
Reattach the Clasp: Once the pearls are re-strung, tie secure knots between each pearl. Then, reattach the clasp by securing it with crimp beads or knots.
-
Check for Symmetry: Ensure the pearls are evenly spaced and that the necklace fits properly before securing all final knots.
This method requires precision to maintain the necklace's integrity and appearance.
How Many Pearls in a Necklace?
The number of pearls in a necklace depends on the desired length, the size of the pearls, and the overall design. Here's a general breakdown:
-
Standard Length Necklace (16-18 inches): For a classic choker-style necklace, typically 40-50 pearls (6-7mm in size) are used.
-
Princess Length Necklace (18-20 inches): A necklace of this length usually requires around 50-60 pearls.
-
Matinee Length Necklace (22-24 inches): A longer necklace might contain 70-80 pearls, depending on size.
-
Opera Length Necklace (28-34 inches): For a more dramatic design, expect 90-120 pearls, depending on the size and spacing.
The exact number varies based on pearl size and how closely the pearls are spaced. Custom designs may have fewer or more pearls based on the desired look.