If you're a beginner eager to dive into DIY jewelry projects, understanding basic components is crucial. One such essential element is the jump ring. But what is a jump ring, you might ask? It's a small but mighty component used to connect different parts of jewelry, such as linking charms to bracelets or pendants to chains. In this guide, we will explore everything from the basics of what are jump rings used for and their different types to how you can use or even make them for your creations.
What Are Jump Rings
So, what is a jump ring in jewelry making? At its core, a jump ring is a simple loop of metal wire with a small gap where the ends meet. This gap allows the ring to be opened and closed, enabling you to connect different elements of jewelry, such as linking a charm to a bracelet or attaching a clasp to a necklace.
The utility of jump rings extends beyond simple connections; they are also essential in creating movement, adding length, and allowing for flexibility in jewelry. Without jump rings, the dynamic and modular nature of many designs would be impossible to achieve.
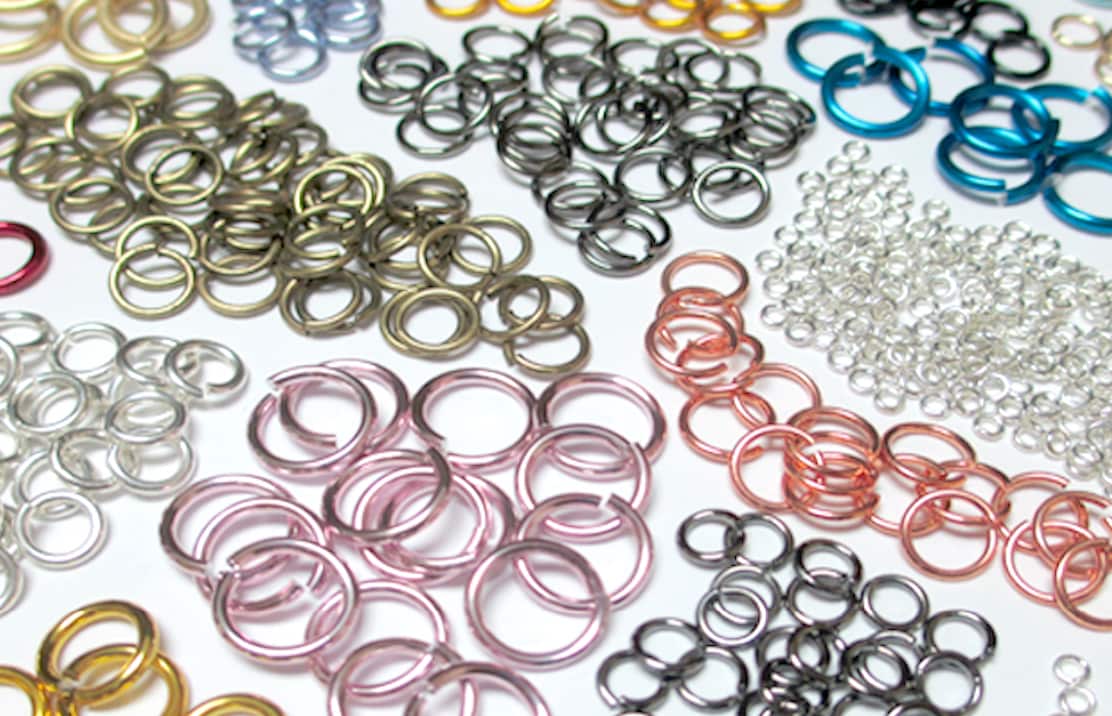
Jump rings come in various sizes, gauges (thickness), and materials, each with its own specific applications. The size of a jump ring is determined by its inner diameter, usually measured in millimeters. The gauge refers to the thickness of the wire used to create the ring. Jump rings can be made from various metals, including sterling silver, gold-filled, copper, brass, and even stainless steel.
Different Types of Jump Rings and Their Uses
Jump rings may appear similar at a glance, but they come in a variety of types, each designed for specific uses in jewelry making. Here's a breakdown of the most common types of jump rings and their applications:
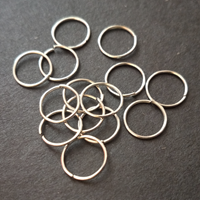
Standard Jump Rings
These are the most common type of jump rings, circular in shape and available in a range of metals including gold, silver, copper, and stainless steel. They are versatile and used in almost all basic jewelry connections, such as attaching charms, clasps, and pendants.
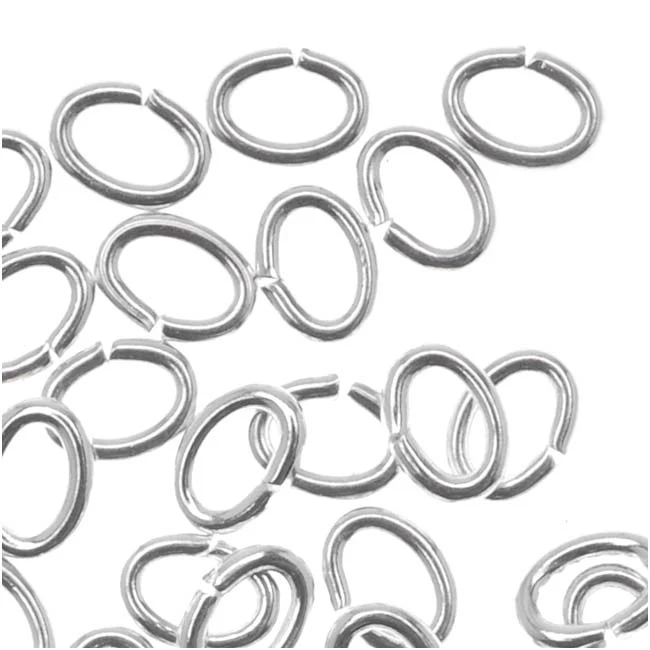
Oval Jump Rings
The elongated shape of oval jump rings provides more space at the chain attachment points, reducing stress and wear on the ring itself. This makes them particularly useful for heavier or more valuable pieces, ensuring longevity and reducing the risk of losing attached components.
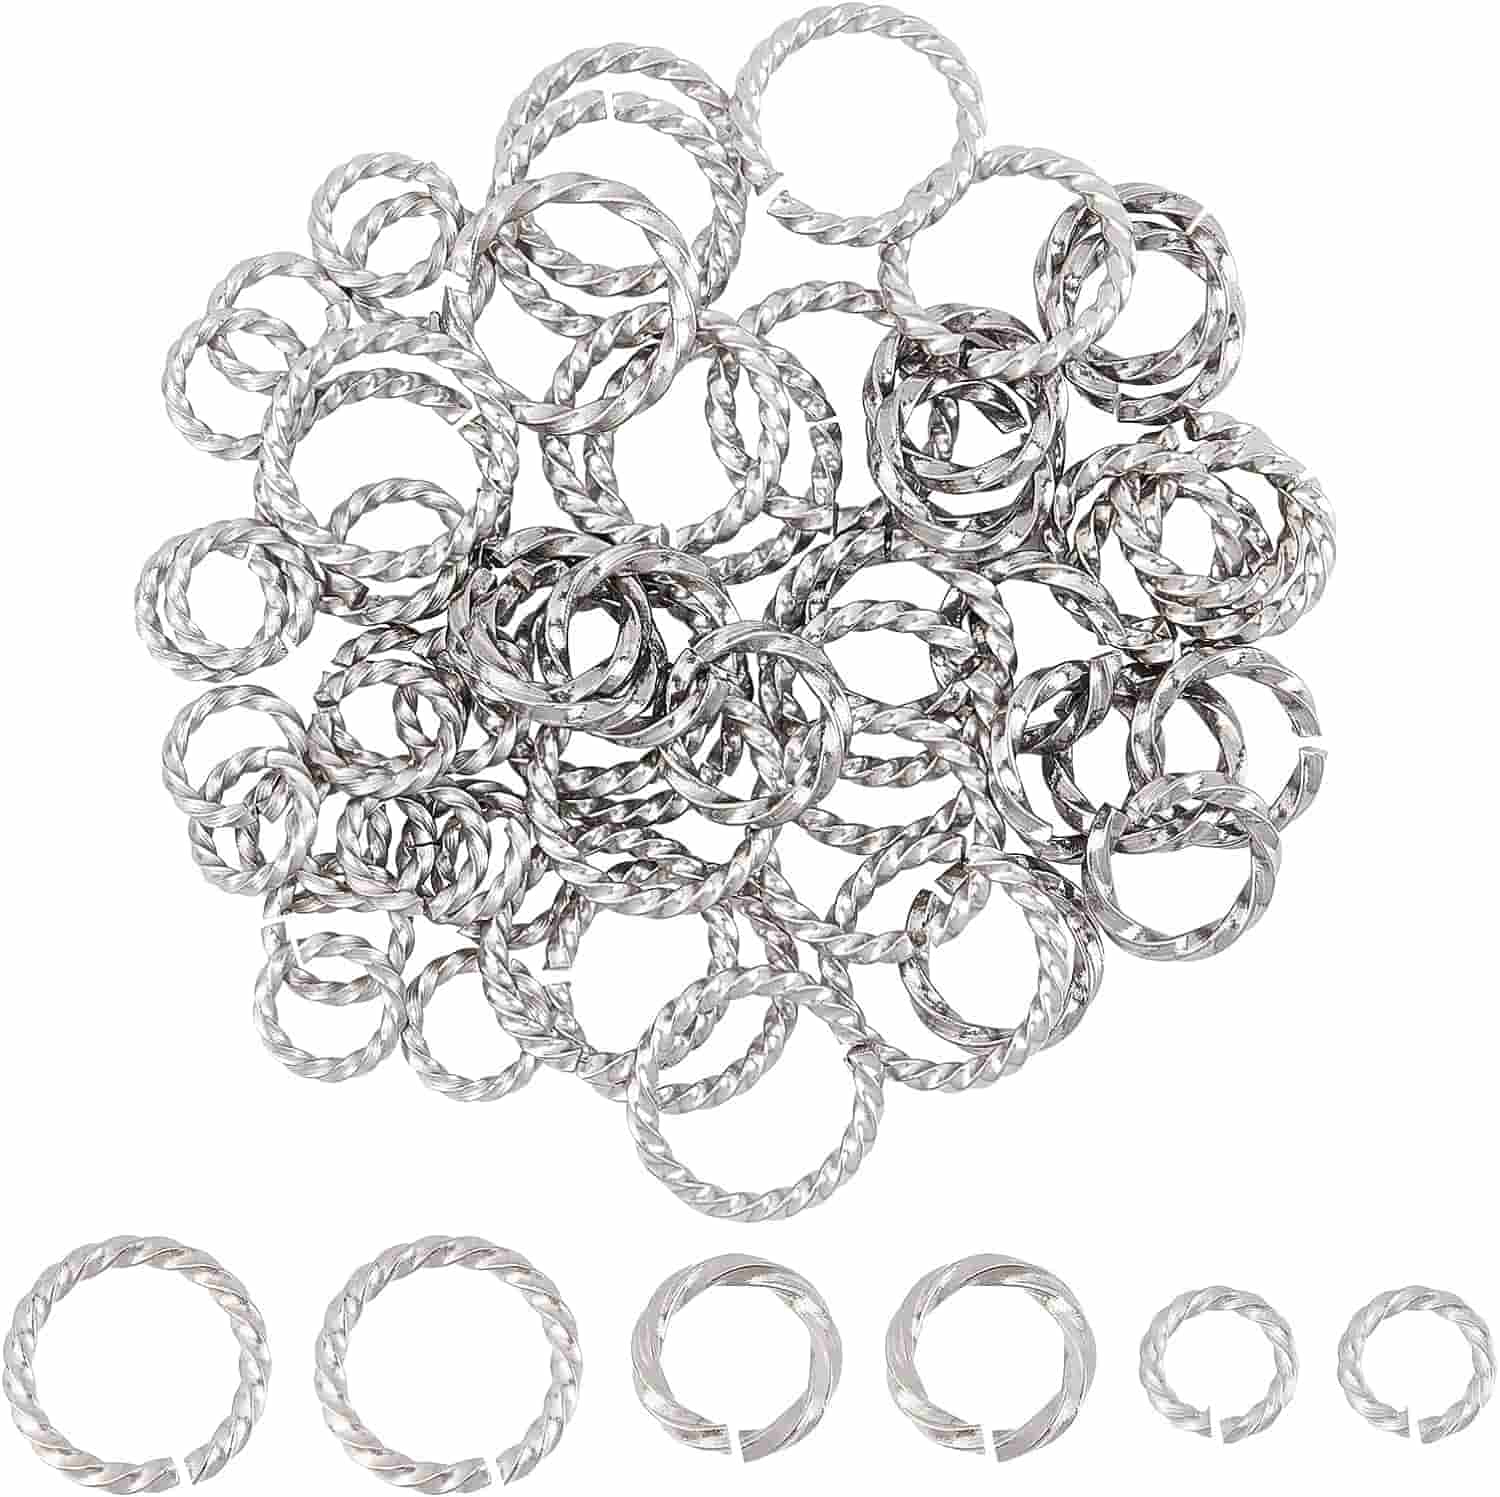
Twisted Jump Rings
These are standard rings twisted to give a decorative look while adding extra strength. The twisted wire is harder to pull apart and adds an aesthetic texture to the design, making them a popular choice for visible parts of jewelry where a touch of elegance is desired.
Soldered Jump Rings
For maximum security, soldered jump rings are permanently closed, with no cut. These are used in places where it's crucial that the ring does not open, such as in the ends of a high-end necklace or bracelet. Soldering provides a permanent bond that ensures pieces stay together under all circumstances.
How to Open and Close Jump Rings Correctly
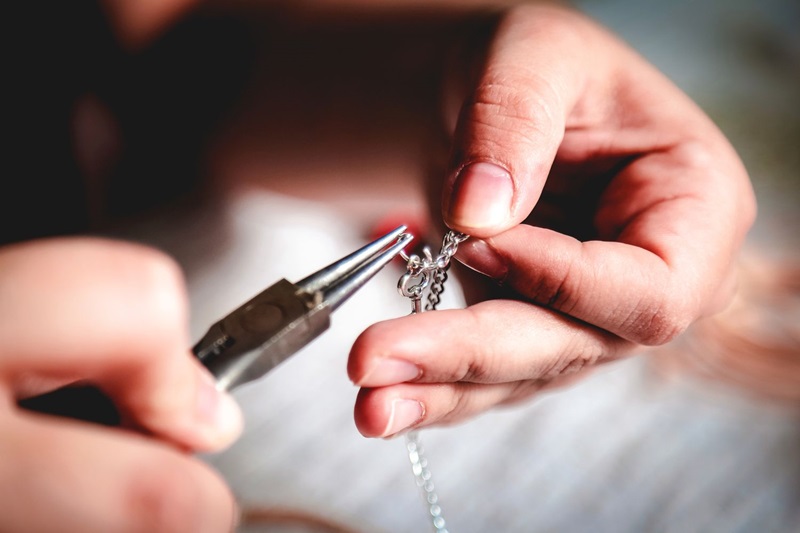
Properly opening and closing jump rings is crucial for creating durable and professional-looking jewelry. Follow the below steps to know how to use a jump ring.
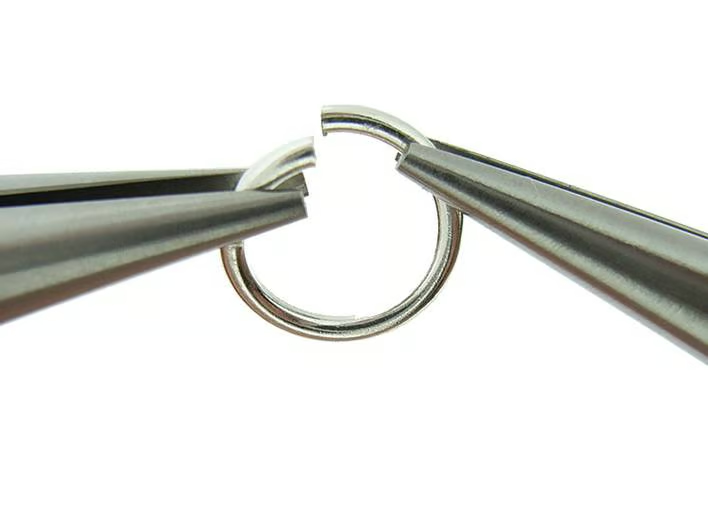
1.Gather the Right Tools: Use two pairs of flat-nose pliers. These pliers provide the best grip and help distribute the force evenly.
2.Grasp the Jump Ring: Hold the jump ring with the split facing up, so you can clearly see the opening. Position one pair of pliers on one side of the split, and the other pair directly opposite.
3.Twist, Don't Pull: Gently twist one pair of pliers toward you while pushing the other away. This twisting motion opens the ring without distorting its circular shape. Avoid pulling the ends apart as this can weaken the metal.
4.Align the Ends: After adding your components (like charms or chains), bring the ends of the jump ring back together by reversing the twisting motion. Make sure the ends align perfectly to ensure a secure closure.
5.Check the Closure: Look closely at the connection point. The ends should meet seamlessly without any gaps. If there's a gap, gently wiggle the ends past each other with your pliers until they snap into place.
How to Make Your Jump Rings
Creating your own jump rings allows for customization in terms of size, thickness, and material, adding a personal touch to your jewelry projects. Here's how you can make jump rings yourself with a few basic tools and materials.
Materials Needed
Steps to Make Jump Rings
1.Wrap the Wire: Secure one end of the wire to your mandrel using your hand or a piece of tape. Tightly wrap the wire around the mandrel, making sure the coils are close together and do not overlap.
2.Remove the Coiled Wire: Once you have wrapped enough wire for the desired number of jump rings, carefully slide the coil off the mandrel.
3.Cut the Rings: Hold the coil with your flat-nose pliers, and use the flush cutters to make straight cuts perpendicular to the wire. Start at one end and work your way down, cutting through the coil to create individual rings. Ensure each cut is clean to facilitate easier closing later.
4.Finishing Touches: After cutting, you might find some burrs or sharp edges at the cuts. Use a small file or fine sandpaper to smooth these out, preventing any snagging when the rings are used in jewelry.
Conclusion
So, what is a jump ring? As we've learned, these small, versatile loops of metal are essential for connecting different components of a jewelry piece together. By understanding different types of jump rings and mastering the techniques for opening and closing them correctly, you can effectively use them in your DIY projects. Remember, practice makes perfect, so do not hesitate to experiment with different sizes, materials, and techniques to find what works best for you.